 How-to
Can a Damaged Car Wrap Be Repaired? A Practical Guide
Quick Summary
Yes, can a damaged car wrap be repaired in many cases, but it depends on the damage. Small scratches, scuffs, and tiny chips usually respond well to simple fixes, while large tears or damage spanning a whole panel often need a panel replacement or full rewrap.
- Small scratches and scuffs are often fixable with light care or a small patch.
- Chips and small holes are usually repairable with a targeted patch.
- Large tears or peeling edges may need a panel replacement.
- Damage across several panels often means a full rewrap.
- Patches rarely match the original finish perfectly, especially on older film.
Table of Contents
- Can a Damaged Car Wrap Be Repaired? Short Answer and Limits
- Types of Wrap Damage: Scratches, Scuffs, Chips, Holes and Tears
- Damage Severity Decision Tree: Patch, Panel Replacement or Full Rewrap
- How to Patch Car Wrap Damage Step by Step
- Vinyl Wrap Repair Kit: What to Buy and What to Skip
- Car Wrap Repair Cost and Time, and When Replacing One Panel Makes Sense
- Schedule Your Wrap Repair or Panel Replacement with Pearl Wrapz
- Frequently Asked Questions
Can a Damaged Car Wrap Be Repaired? Short Answer and Limits
Last Updated: November 4, 2026
Yes, a damaged car wrap can often be repaired, but only in certain cases, and whether can a damaged car wrap be repaired depends on the damage. Small scratches, scuffs, and tiny chips usually respond well to simple fixes. Larger tears, deep holes, and damage that spans a whole panel are harder to hide with a patch.
The short answer depends on where the damage sits and how big it is. A localized patch can restore a clean look on a small area. A heavily damaged section, though, may need a full panel replacement or a complete rewrap to look right.
Keep your expectations realistic. A patch rarely matches the original finish perfectly, especially on older film. The repair may be visible up close, even when it holds well.
- Small scratches and scuffs: often fixable with light care or a small patch
- Chips and small holes: usually repairable with a targeted patch
- Large tears or peeling edges: may need a panel replacement
- Damage across several panels: often means a full rewrap
Types of Wrap Damage: Scratches, Scuffs, Chips, Holes and Tears
Each type of damage behaves differently. Scratches and scuffs usually sit on the surface of the film. Chips and holes go deeper and expose the adhesive layer or the paint underneath. Tears are the hardest to fix because the film has split along a line.
Knowing the damage type helps you decide what kind of repair to try. Surface marks may only need cleaning or light buffing. Holes and tears almost always need a patch or a replacement section.
- Scratches: shallow marks that cut through the top layer only
- Scuffs: rubbed-off areas where the film looks dull or discolored
- Chips: small pieces of film missing, often at edges or corners
- Holes: punctures that go through the film
- Tears: longer splits that can spread if left alone
Damage Severity Decision Tree: Patch, Panel Replacement or Full Rewrap
Use this simple decision tree to pick the right path:
- Is the damage a light scratch or scuff? Clean and monitor it first.
- Is the damage a small chip or hole, under about the size of a coin? A targeted patch is likely the right choice.
- Is the tear or hole larger, or does it sit on a curved, high-stress edge? Plan for a panel replacement.
- Is the film peeling across several panels or fading everywhere? A full rewrap is usually the better value.
Keep in mind that a patch can look fine from a distance but still show seams up close. If your vehicle is a showpiece or a branded fleet vehicle viewed daily, a panel replacement often looks better over time.
How to Patch Car Wrap Damage Step by Step
A patch works best on small, clean damage on a flat or gently curved panel. Plan for a short hands-on session followed by a settling period before washing or driving the vehicle. Work in a shaded, dry area and avoid applying film to a panel that is very cold or very hot.
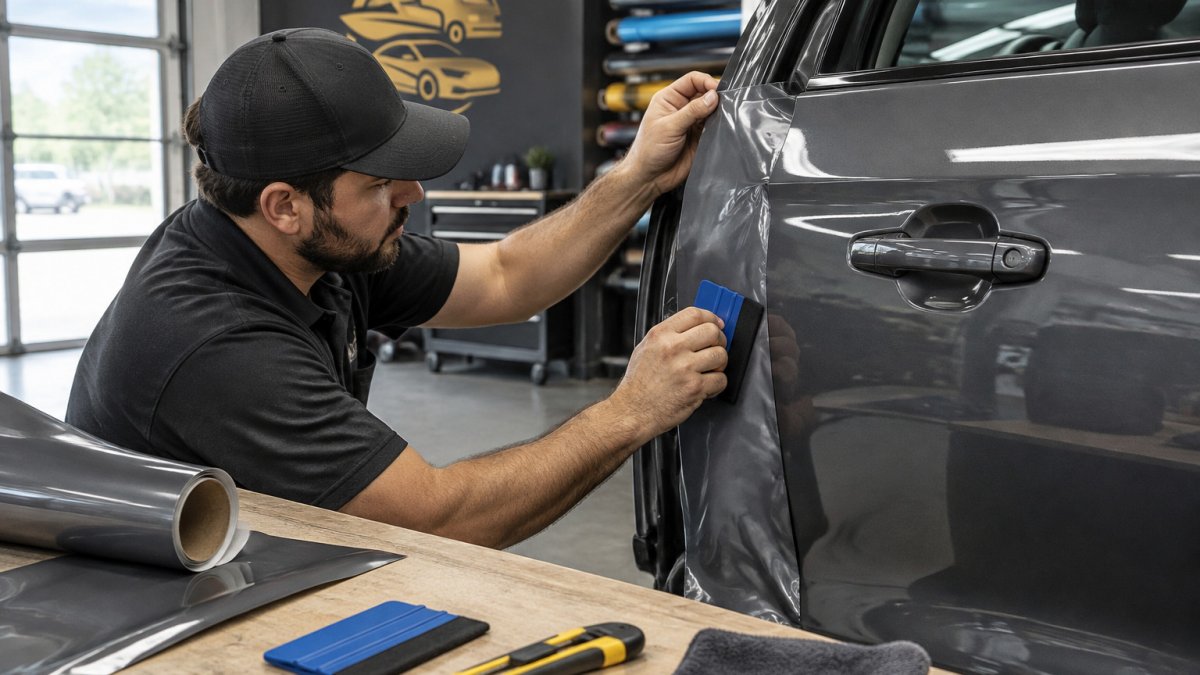
Before you cut anything, confirm the damage does not extend into the paint or bodywork. Press gently around the edges of the tear. If the film lifts easily, if you see bare paint, primer, or metal, or if the panel feels soft or deformed, stop and have the area assessed before covering it. Trapping moisture or contamination under a patch can worsen paint damage over time.
Prepare the Area and Trim Damaged Edges
Start by cleaning the area with a gentle vinyl-safe cleaner and a microfiber cloth. Remove dirt, wax, and oils so the patch can stick. Dry the area completely, trapped moisture is one of the most common reasons a patch lifts.
Then trim any loose or frayed film with a sharp hobby blade, keeping cuts clean and straight. Trim back to film that is fully bonded to the panel; do not try to glue down a curled edge. Leave a small, stable border of adhered film around the damage so the patch has a solid base to bridge.
Watch out: Never use a dull blade or force the cut. Tearing the surrounding film can turn a small repair into a larger one, and a slip can scratch the paint under the wrap.
Size and Cut the Patch
Cut a patch of matching vinyl that extends about a quarter inch past the trimmed damage on every side. Cut with the film's grain or roll direction in mind, vinyl stretches more in one direction than the other, and a patch cut against the grain can pucker on curves. For curved or high-stress edges, round the corners of the patch rather than leaving sharp 90-degree points, which tend to lift first.
If you are working with a printed or textured film, align the pattern or texture direction with the surrounding wrap before cutting. A patch that is the right color but the wrong orientation will still read as a repair.
Apply the Vinyl Patch and Seal the Edges
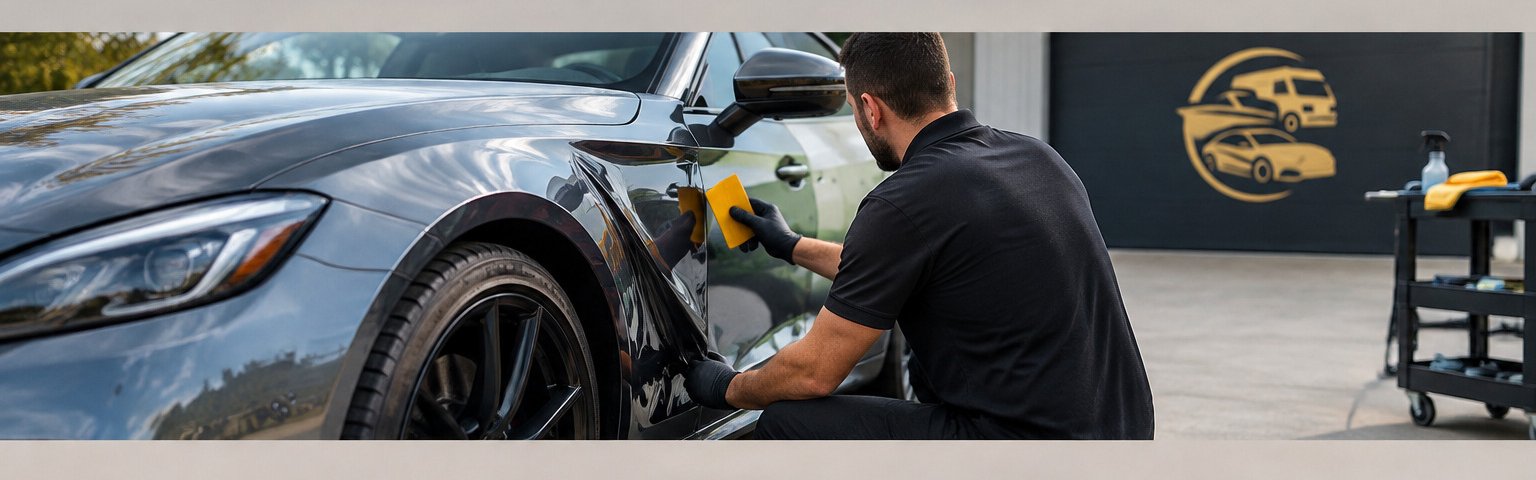
Lay the patch over the area and tack one edge down first, then smooth outward from the center using a squeegee or soft cloth to push out air bubbles.
Heat lightly with a heat gun on a low setting to help the edges conform, keeping the gun moving and never holding it in one spot. Vinyl can scorch or distort quickly at high heat.
Check the edges after the film cools. Re-press any lifting corners.
Let the patch sit undisturbed before washing, and avoid pressure washing the repaired area for a while. Hand wash gently around the patch edges and monitor for lifting.
The steps below walk through a DIY patch, with the key checks and timing from the article.
| Step | What to do | Timing or note |
|---|---|---|
| Check the damage | Confirm damage does not reach paint, primer or metal | Stop if panel feels soft or deformed |
| Clean and dry | Clean with vinyl-safe cleaner, dry completely | Trapped moisture makes patches lift |
| Trim edges | Trim loose film with a sharp hobby blade | Use clean, straight cuts |
| Cut the patch | Extend patch about a quarter inch past damage | Round corners on curved edges |
| Apply the patch | Tack one edge, smooth outward from center | Work from middle toward edges |
| Heat and seal | Warm edges with heat gun on low, press firmly | Keep gun moving; re-press after cooling |
| Settle | Hand wash gently and watch for lifting | Avoid pressure washing for a while |
Vinyl Wrap Repair Kit: What to Buy and What to Skip
A basic repair kit should include a sharp hobby blade, extra blades, a squeegee, microfiber cloths, and a small heat gun. Many people also buy a cleaning solution made for vinyl. These basics cover most small patch jobs.
Skip kits that promise instant, invisible fixes for large tears. Those products rarely hold well on stretched or heavily worn film. Also skip cheap, unmarked vinyl scraps, since color and finish rarely match the original wrap.
Car Wrap Repair Cost and Time, and When Replacing One Panel Makes Sense
Repair cost depends on the size of the damage, the type of film, the panel's curvature, and whether a professional handles the job. For current pricing on your specific damage, request a quote from Pearl Wrapz.
What drives cost:
- Damage size and location. A coin-sized chip on a flat door is the cheapest repair. A tear on a curved bumper, mirror cap, or high-stress edge takes more labor and film.
- Film type and finish. Gloss, matte, satin, textured, printed, and color-shift films differ in price and in how forgiving they are to patch. Printed and textured films usually cost more because pattern matching adds time.
- Color and age matching. New vinyl rarely matches sun-faded film exactly. If the original wrap is more than a couple of years old or has seen heavy sun, a patch may be visible even when applied well, which can push the job toward a panel replacement.
- Prep and removal. If the damaged film must be removed before repair, removal time adds to the job. Old or brittle film can be slow to take off without damaging the paint.
DIY versus professional versus panel replacement:
- A DIY patch is the lowest-cost path and is reasonable for small, non-visible damage on a personal vehicle. Expect to spend roughly 30 to 60 minutes plus drying time, and accept that the patch may be visible up close.
- A professional spot repair can deliver cleaner edges and better color matching than a DIY patch. It is often the right call for branded fleet vehicles or damage in a visible spot.
- A panel replacement costs more than a spot repair but gives a seamless result on that panel. It makes sense when the damage is too large for a patch, sits in a highly visible area, or when the film on that panel has worn faster than the rest of the vehicle.
Turnaround expectations: A simple DIY patch can be done in an afternoon. Exact timelines vary with scheduling, film availability and shop workload. Request a quote from Pearl Wrapz for an estimate on your vehicle.
Watch out: Mixing new vinyl with aged film on the same vehicle can cause visible color differences, especially on horizontal surfaces like hoods and roofs that fade fastest.
Replacing a single panel makes sense when the damage is too large for a patch or sits in a highly visible spot. It also helps when the film on that panel has worn out faster than the rest of the vehicle.
Schedule Your Wrap Repair or Panel Replacement with Pearl Wrapz
If your wrap has damage you cannot patch yourself, Pearl Wrapz can assess it and recommend a repair or panel replacement. We are happy to discuss your vehicle and the look you want to keep. Request a quote from Pearl Wrapz to get started.
Frequently Asked Questions
Can a small tear in a car wrap be repaired?
Yes, a small tear can often be patched if it is limited to one area and the surrounding vinyl is still firmly bonded. A patch covers the damage, but it is a temporary or cosmetic fix rather than a true restoration of the original film. If the tear runs across several panels, or the vinyl has lifted around it, a patch will not hold well and the affected panel usually needs replacement. Clean edges, matching film and careful trimming improve the result.
How much does car wrap repair cost?
Pricing depends on the size of the damage, the number of panels involved, the vinyl type and the shop's labor rates, so Pearl Wrapz does not publish a flat figure for repairs. A small patch on one area costs far less than replacing a full panel or rewrapping the vehicle. For current pricing on your specific damage, request a quote from Pearl Wrapz and provide photos of the affected area.
Can you repair one section of a vehicle wrap without rewrapping the whole car?
In many cases, yes. Localized repairs work when the damage is confined to one panel or a small area, because the rest of the wrap can stay in place. Replacing a single panel is a common option when the vinyl is badly torn, peeling or faded on that section. Color and finish matching matter here, since older film on the rest of the vehicle may have aged differently from new vinyl. A technician can assess whether a partial repair will look consistent.
When should a damaged car wrap be replaced instead of repaired?
Replace the wrap or the affected panel when damage is widespread, when the vinyl is peeling or lifting at multiple edges, or when the film has faded or cracked across large areas. Patches become visible and unreliable once the surrounding film is compromised. Before deciding, check whether the underlying paint is also damaged, since that can change the repair plan. A professional inspection gives you a clear recommendation for your vehicle.