 How-to
Business Window Decals: Installation Guide for Storefronts
Last Updated: November 20, 2026
Quick Summary
Business window decals installation near you starts with measuring every pane, cleaning the glass, and choosing wet or dry application based on size and pane count. Professional installers can typically handle large panes, perforated film, and multi-window layouts, while DIY works for a small hours sign on a single pane.
- Wash the full pane with glass cleaner and a lint-free cloth, then check for grit, paint overspray, and old adhesive.
- Dry application works well for small decals and flat panes, but mistakes are hard to fix once vinyl touches glass.
- Squeegee from the center outward, overlapping each pass to remove air pockets, then trim along the frame.
- Note any variance greater than about 1/8 inch across a pane when measuring and templating.
- The biggest mistake is installing in direct sun or extreme cold, since vinyl needs moderate temperatures to bond.
Table of Contents
- Why Storefront Window Decals Change How Shoppers See Your Business
- Before You Install: Surface Prep and What You'll Need
- Step-by-Step Business Window Decals Installation
- Professional vs. DIY: What Commercial Window Graphics Installation Involves
- What Drives Window Decal Installation Cost
- Storefront Window Decals: Design Choices That Read at Speed
- Eco-Friendly Materials for Window Graphics
- Common Mistakes That Ruin a Decal Install
- Frequently Asked Questions
Why Storefront Window Decals Change How Shoppers See Your Business
Business window decals installation near me searches spike when a store owner finally realizes the front glass is the cheapest ad space they own. That glass faces every passing car and every person on the sidewalk, and it sits idle until you put something on it. Storefront window decals are a practical way to make the front of a business work harder for its brand, because the glass is visible to everyone who passes by.
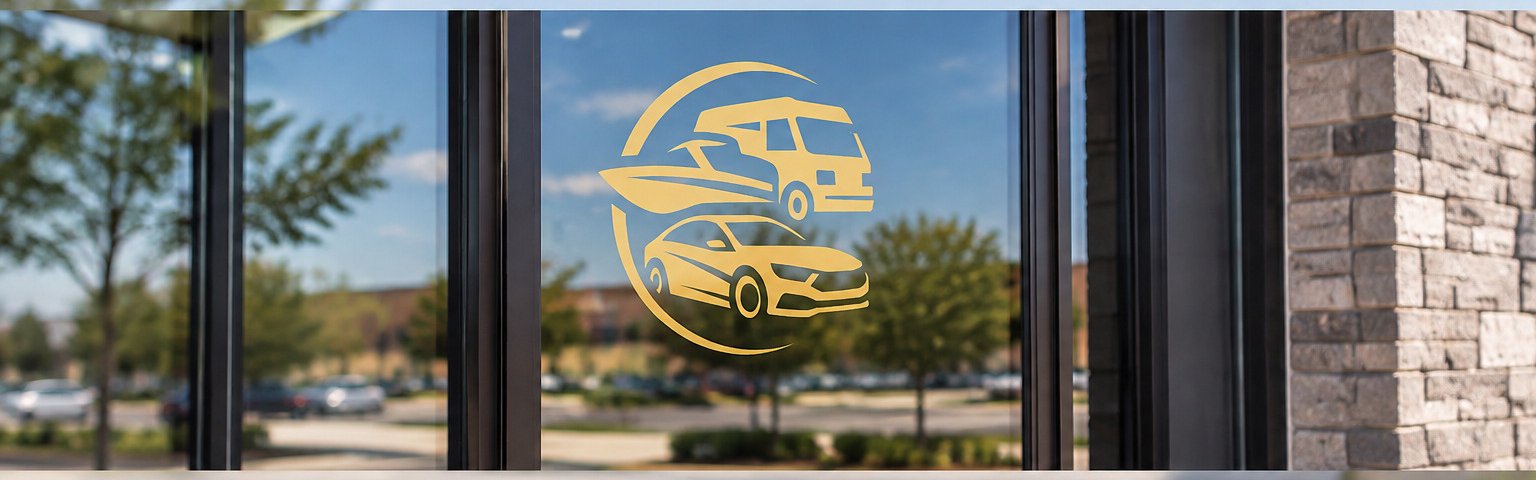
Window decals are adhesive vinyl graphics applied to glass surfaces to display branding, hours, promotions, or privacy film. They range from small cut lettering to full perforated wraps that cover an entire pane.
Why does this matter so much? Because a plain window reads as closed, empty, or struggling. Shoppers make a snap judgment from the curb. Decals fix that judgment in seconds.
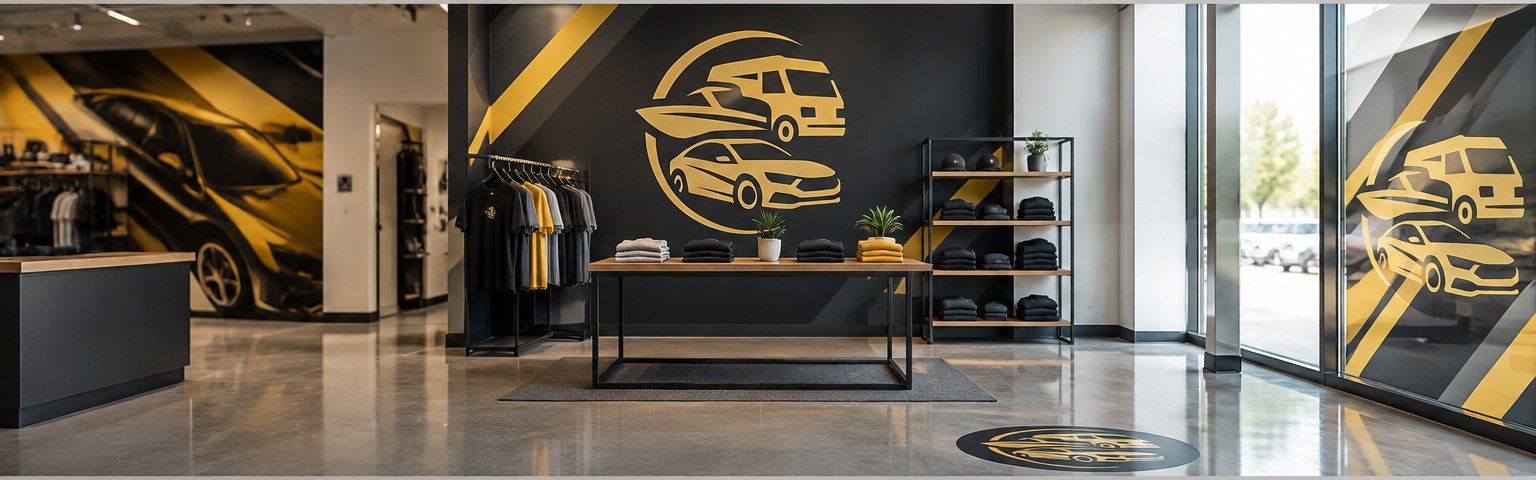
Window graphics are more than decoration. They are often the first layer of your brand that a passerby sees, and they are worth planning alongside your interior.
If you want to see the full range of what we install, look at our storefront and window graphics options before you commit to a design.
Before You Install: Surface Prep and What You'll Need
Surface prep plays a large role in how long a decal lasts, so it is worth doing carefully.
Start by measuring every pane before you order anything. Out-of-square windows and thick frames throw off sizing. Our guide on how to measure windows for graphics walks through recording glass dimensions and getting print-ready specs.
Cleaning and Inspecting the Glass
Clean glass matters. Wash the full pane with a glass cleaner and a lint-free cloth, then check for grit, paint overspray, and old adhesive.
Run your hand across the surface. Any bump you feel will show through the vinyl. Scrape off residue with a razor blade at a shallow angle, then wipe again.
For a deeper walkthrough, see our steps on how to prepare surfaces for decals.
Tools and Materials Checklist
Gather everything before you start. Missing a tool mid-install is how bubbles happen.
- Squeegee with a felt edge
- Spray bottle with water and a drop of dish soap
- Trim knife with fresh blades
- Measuring tape and pencil
- Lint-free cloths
- Heat gun or hair dryer for edges
- Masking tape for alignment
Step-by-Step Business Window Decals Installation
Below is a general installation sequence with the technical checkpoints that influence how a finished graphic looks and performs. Work in shade or on a cloudy day, because direct sun makes vinyl soft and hard to control.
Step 1, File prep and proof. Confirm the artwork is vector or at least 150 dpi at final size, with bleed and crop marks. Check that fonts are outlined. Review a proof at actual scale before anything prints.
Step 2, Measure and template. Measure every pane and record width, height, and frame depth. Out-of-square glass and thick frames throw off sizing, so note any variance greater than about 1/8 inch across a pane.
Step 3, Clean and inspect. Wash the full pane with glass cleaner and a lint-free cloth, then check for grit, paint overspray, and old adhesive. Scrape residue carefully and wipe again. For a deeper walkthrough, see our steps on how to prepare surfaces for decals.
Step 5, Apply. Choose wet or dry application based on size and pane count (see below), then position the film carefully before working across the pane.
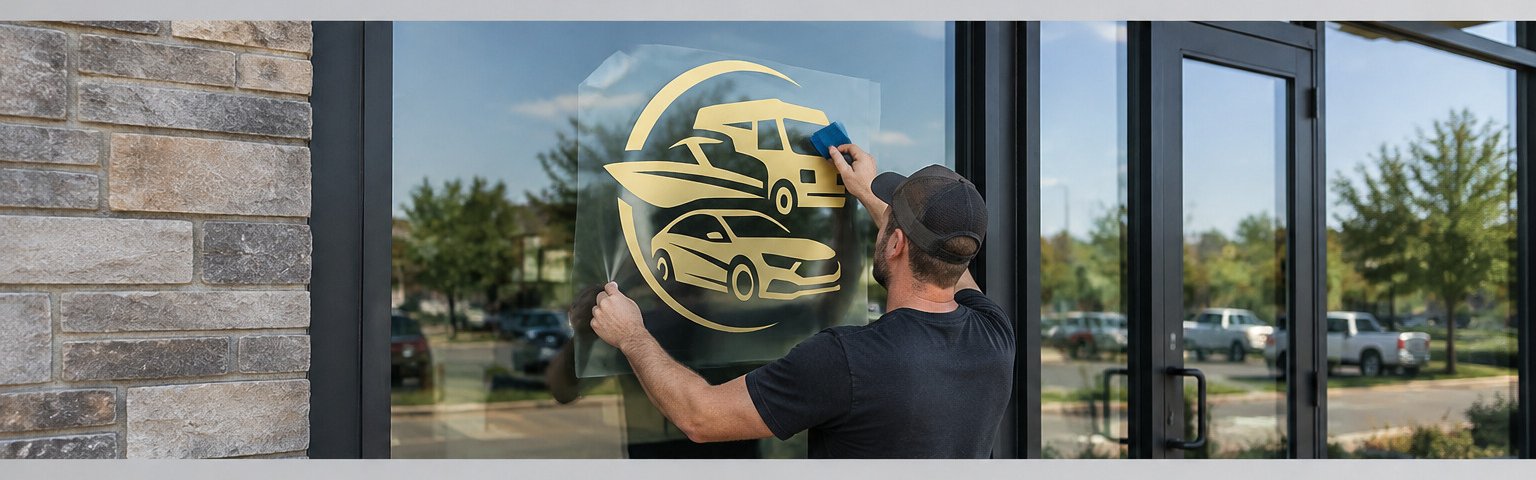
Step 6, Squeegee. Work from the center outward, overlapping each pass to remove air pockets.
Step 7, Trim and set edges. Trim excess film along the frame with a sharp blade and secure the edges.
Step 8, Inspect. Step back and check from the street for bubbles, crooked lines, and lifted corners.
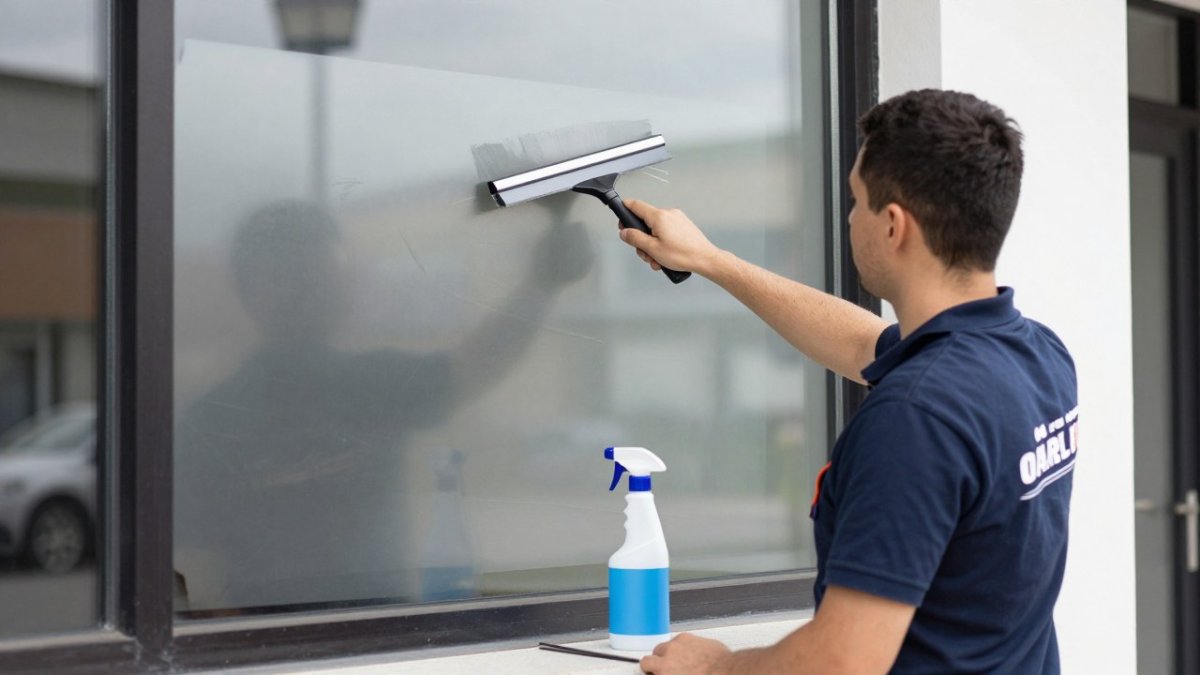
Dry vs. Wet Application Methods
Dry application skips the spray and sticks the vinyl straight to glass. It works well for small decals and flat panes. Mistakes are hard to fix once the vinyl touches glass.
Wet application sprays the glass first so the decal can slide into position. It is often used for larger graphics where alignment matters, because it allows time to adjust before the vinyl sets.
Squeegeeing, Trimming, and Final Inspection
Push the squeegee from the middle out toward the edges. Overlap each pass. Work out every air pocket as you go.
Trim excess film along the frame with a sharp blade. Then run a heat gun along the edges to lock them down.
Step back and check from the street. Look for bubbles, crooked lines, and lifted corners.
Accessibility and Legibility Checkpoints
A graphic that reads well up close can fail a shopper at the door. Before you sign off, check three things. First, contrast: light lettering on dark glass or dark lettering on light glass reads at distance; mid-tone on mid-tone does not. Second, type size and viewing height: primary lettering should sit near eye level and be sized to the distance it must be read from, so a sign meant to be read from the parking lot is larger than one read at the door. Third, route clarity: entrance, hours, and accessibility information should be legible without a shopper having to hunt, and should not be blocked by promotional graphics. These checkpoints are what make a graphic useful to a wider range of shoppers, not just decorative.
Here is the installation sequence at a glance, from file prep to final inspection.
| Step | What to do | Key checkpoint |
|---|---|---|
| 1 | File prep and proof | Vector or 150 dpi at final size; fonts outlined |
| 2 | Measure and template | Note variance greater than about 1/8 inch |
| 3 | Clean and inspect | Remove grit, overspray, and old adhesive |
| 5 | Apply | Choose wet or dry based on size and pane count |
| 6 | Squeegee | Work center outward, overlapping each pass |
| 7 | Trim and set edges | Trim along frame, then heat gun edges |
| 8 | Inspect | Check from street for bubbles and lifted corners |
Professional vs. DIY: What Commercial Window Graphics Installation Involves
DIY works for a small hours sign on a single pane. Commercial window graphics installation is a different job.
Professional installers can typically handle large panes, perforated film, and multi-window layouts. Ask any installer about their tools and insurance coverage before booking.
Watch out: a botched DIY install on a big pane can mean buying the vinyl twice. The savings can vanish quickly.
Pearl Wrapz offers full-service support from idea to installation.
What Drives Window Decal Installation Cost
Window decal installation cost is not one number. It is the sum of four cost pools, and knowing which pool is driving your quote is how you compare bids fairly instead of shopping on a single square-foot rate.
1. Material and print. Film types differ in cost and performance. Calendared vinyl is generally a lower-cost option for flat glass, while cast vinyl tends to conform better to curves and hold color longer. Perforated, frosted, and optically clear films are typically priced above standard vinyl, and lamination can add protection against UV fade and washing.
2. Design and file prep. Stock templates and simple cut lettering are cheap to produce. Custom artwork, vector cleanup, and print-ready file setup add design hours. If your logo arrives as a low-resolution JPEG, expect a redraw charge before anything goes to the printer.
3. Labor and installation. Labor often depends on square footage, pane count, glass height, and access. Larger or higher installations generally take more time, and removing old film can add to the total.
4. Removal and replacement. Removable adhesives cost more up front but come off clean, which matters if you lease. Permanent adhesive is cheaper to buy and more expensive to undo.
Quotes for this kind of work often break out materials, labor, access, removal, and design separately. Ask each bidder to itemize those four pools so you can see where the money goes.
Watch out: a quote that gives one lump sum with no material spec or removal line can be hard to compare with an itemized bid.
For more on what affects pricing, see our storefront window branding cost guide. Pricing depends on quantity, dates, and delivery, so request a quote for current prices.
Storefront Window Decals: Design Choices That Read at Speed
Most storefront window decals fail for one reason: they try to say everything at once. A driver passing at speed gets three seconds, not thirty.
Keep your main message short. Make it large and use high contrast, like white on dark or dark on light.
Graphic hierarchy means ranking your information: name first, then what you sell, then a call to action. Everything else is optional.
Test your design from across the street before you print it. If you cannot read it from there, neither can a customer. Our guide on designing window graphics people can actually read covers contrast and viewing distance in detail.
Eco-Friendly Materials for Window Graphics
Some eco-friendly materials for window graphics are available from suppliers, including certain PVC-free films and water-based adhesives. Ask your installer which options they carry.
Ask your supplier what the film is made from and how it comes off. Removable adhesives matter if you rent your space.
For long-term exterior exposure, check the manufacturer's rated lifespan before you buy.
Common Mistakes That Ruin a Decal Install
The biggest mistake is installing in direct sun or extreme cold. Vinyl needs moderate temperatures to bond and stay workable.
The second is skipping the clean. Dust and oil under the film cause bubbles and early peeling.
The third is applying over old adhesive. Always strip the glass first.
A fourth mistake: no post-install inspection. Check edges a week later, because that is when lifting starts.
Your storefront glass is working against you until you put something on it. Pearl Wrapz handles the full job, from design through professional installation, for storefront window graphics, wall murals, and floor decals. We install what we sell, so you are never stuck with a file and no one to apply it. Get started with Pearl Wrapz and turn your front window into your hardest-working salesperson.
Frequently Asked Questions
How long do storefront window decals last?
Lifespan for window decals depends on the film type, sun exposure, and cleaning routine. Cast vinyl generally lasts longer outdoors than calendared vinyl when installed on a clean surface. Lifespan depends on sun exposure, whether the film faces outward or inward, and how often the glass is washed. Ask your installer which film grade they use and what warranty, if any, comes with it.
Can business window decals be installed on the inside of the glass?
Yes. Interior-mounted decals protect the print from weather, vandalism, and road grime, and they are common on storefronts where the outside face needs to stay clean. The trade-off is that the adhesive side faces the customer, so the design must be printed in reverse for a second-surface application. Interior mounting also changes the color appearance slightly because you view the graphic through the glass.
How much does window decal installation cost?
Window decal installation cost depends on square footage, film type, glass height, and whether old graphics need removal. Pricing depends on quantity, dates, and delivery, so request a quote for current prices. Request a quote with your window measurements and photos so the installer can price accurately.
Are eco-friendly materials available for commercial window graphics?
Yes. If sustainability is a priority for your storefront, ask your installer which low-VOC and PVC-free films they can offer and how those films perform in your climate.