 How-to
How to Measure Windows for Graphics
Last Updated: November 6, 2026
Quick Summary
To measure windows for graphics, measure the visible glass edge to edge, not the frame, taking three width readings and three height readings to the nearest 1/8 inch. Record the smallest width and smallest height and always round down, never up. A graphic cut to the largest reading will overhang and peel.
- Use a steel tape measure of 25 feet or longer with clear 1/8-inch markings, not a cloth tape.
- Measure each pane of a multi-panel storefront as its own window and never divide the whole opening.
- Opaque vinyl typically gets 1/4 to 1/2 inch overlap onto the frame, while clear film prints to exact glass size.
- In a photo survey, tape a steel tape measure to the glass extended to at least 24 inches as a scale reference.
- Order a physical site visit when width or height readings differ by more than 1/4 inch.
Table of Contents
- Tools and Preparation for Measuring Window Graphics
- How to Measure a Window for a Decal: Step-by-Step
- Using a Window Graphic Measurement Template
- How to Measure Multi-Panel Windows for Graphics
- Measuring Windows from a Photo: Remote Survey Tips
- Graphic-Specific Sizing Allowances and Material Tolerances
- From Site Survey to Print-Ready Artwork: Your Next Steps with Pearl Wrapz
- Frequently Asked Questions
Tools and Preparation for Measuring Window Graphics
Getting window graphics right starts long before anyone touches a printer.
Here's the short version. You measure the visible glass, not the frame. You take three readings for width and three for height.
Below, we'll walk through the full process, from tools to print-ready files, plus the allowances that keep a graphic from peeling at the edges.
Essential Measuring Tools
You don't need much. A basic kit covers almost every storefront job:
- Steel tape measure, 25 feet or longer, with clear 1/8-inch markings
- Notepad and pen, or a phone note you won't lose
- Painter's tape to mark reference points on glass
Use a steel tape rather than a cloth one, since a stretched tape gives you a wrong number.
Safety and Access Check
Before you climb anything, look at the space. Check for:
- Ladders that need a second person to hold them
- Loose window frames or cracked panes
- Busy sidewalks where a ladder blocks foot traffic
If you're prepping glass for install, our guide on how to prepare surfaces for decals covers the cleaning and priming steps that come after measuring.
How to Measure a Window for a Decal: Step-by-Step
Here's the core process. Follow it in order and you'll have reliable numbers every time.
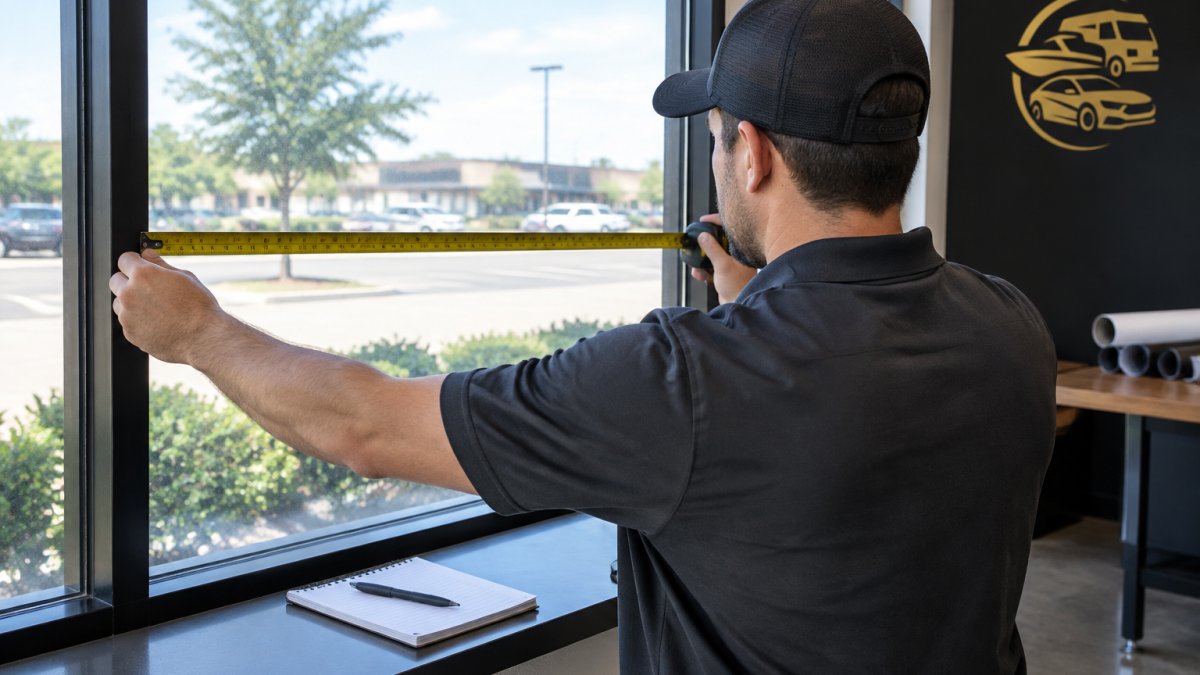
Step 1: Identify the Visible Glass Area
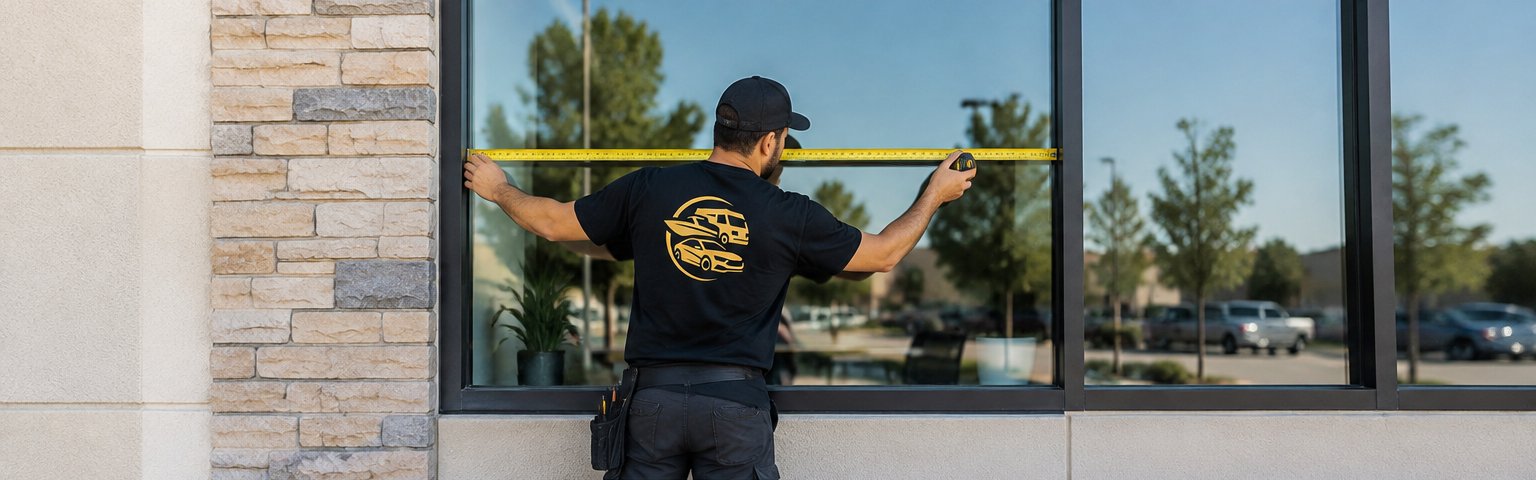
Measure the glass, not the frame. The visible glass area is the flat pane a customer can see through, inside the frame or glazing stop.
Run your tape from glass edge to glass edge. If a rubber seal or gasket covers part of the pane, stop at the seal.
Step 2: Measure Width at Top, Middle, and Bottom
Take three width readings:
- Across the top of the glass
- Across the middle
- Across the bottom
Write each number down to the nearest 1/8 inch. Don't round to the nearest inch. Small gaps show up at install time.
Step 3: Measure Height at Left, Center, and Right
Now do the same vertically. Measure the left side, the center, and the right side, again to the nearest 1/8 inch.
If the three heights differ, you're dealing with an out-of-square window. That's common in older storefronts and it's not a problem. It just changes which number you use.
Step 4: Record the Smallest Measurement and Note Variations
Use the smallest width and the smallest height. Always round down, never up.
A graphic cut to the largest reading will overhang on the tight side and peel. One cut to the smallest reading fits with room to spare.
Note every variation on your sketch. A 1/4-inch difference tells your printer something useful about the glass.
Once your numbers are locked in, the design side matters just as much. Our breakdown of making storefront window graphics readable at speed shows how placement and contrast affect what drivers actually see.
Using a Window Graphic Measurement Template
A window graphic measurement template is more than a form. It is the handoff document between the person at the window and the person cutting the film. A template that captures numbers but not context forces a second site visit or, worse, a reprint.
Core Fields Every Template Needs
Build the template around these fields, one row per pane:
- Site name, address reference, and survey date
- Pane ID, such as Front-A, Front-B, Entry-Door
- Width at top, middle, and bottom, to the nearest 1/8 inch
Pane IDs and Revision Control
Label every pane before you measure it. Use a simple scheme that survives a handoff: Front-A, Front-B, Front-C from left to right, then Entry-Door, Side-A, and so on.
Add a revision line to the template: version number, date, and who took the measurements. If a number changes after the first survey, record the new value and the reason rather than overwriting the old one.
Turning the Template into Print-Ready Specifications
The template is finished when it can be read by someone who was never on site. Before sending it to design or print, check that it answers these questions for every pane:
- What is the final print size, and is it the visible glass size or the glass size plus overlap?
- Which edge, if any, receives overlap onto the frame, and how much?
- Where are the no-print zones for handles, hinges, seals, and sensors?
A common pattern is a template that lists dimensions but not the film type, which leaves the printer guessing whether to add overlap. State the film and the sizing approach on the template itself.
Rounded numbers and missing photos are common template failures. A template that looks complete but lacks a photo reference or a pane ID will usually produce a graphic that fits the wrong window or misses an obstruction.
Template Checklist Before Handoff
Run this checklist before the file leaves your hands:
- Every pane has three width and three height readings
- The smallest width and height are marked
- Every obstruction has a size note and a photo
A template that passes this checklist gives the designer and installer a single source of truth, which is the whole point of knowing how to measure windows for graphics.
How to Measure Multi-Panel Windows for Graphics
Multi-panel storefronts need one extra rule: measure each pane as its own window. Never measure the whole opening and divide.
Mullions, the vertical bars between panes, take up real space. They also vary in width. Treating a four-panel front as one big rectangle almost always produces artwork that doesn't line up.
Measuring Divided and Curved Glazing
For divided windows, label each pane. Use A, B, C, D from left to right, and record full width and height numbers for every one.
Curved or angled glass is trickier. A flat tape measure won't follow the curve. Instead:
- Measure the flat chord width across the opening
- Measure the height at the tallest point
- Photograph the curve from straight on
Your printer needs those notes to plan the film and any seams.
Accounting for Obstructions and Hardware
List anything that sits on or near the glass:
- Door handles and push bars
- Hinges and closers
- Alarm contacts and sensors
Mark each obstruction on your sketch with a rough size. A handle that pokes 3 inches onto the pane means your graphic needs a cutout there.
Measuring Windows from a Photo: Remote Survey Tips
A photo survey is not a substitute for a tape measure. It is a backup and a context record. The strongest use of photos is to confirm what the numbers mean: which pane is which, where the obstructions sit, and how the glass meets the frame. Treat photos as the second source of truth, never the first.
Making a Photo Measurable
A photo without a known reference is just a picture. To make it usable for a graphics order, put a known-size object in the frame on the same plane as the glass:
- Tape a steel tape measure to the glass, extended to at least 24 inches, with the markings readable
- Or tape a piece of rigid material cut to a known length, such as a 12-inch strip, flat against the pane
- Keep the reference parallel to the edge you are measuring, not angled across the pane
Shoot straight on. Stand so the camera lens is centered on the pane and the frame edges are parallel to the photo edges. An angled shot introduces perspective distortion that no printer can reliably correct.
Fill the frame with the window, but include the full pane plus the frame or glazing stop on all four sides. Take one wide shot of the whole storefront for context and one close-up of each obstruction, seal, or mullion.
Remote Survey Workflow
A remote survey only works if the person on site and the person reading the file follow the same sequence:
- Fill the measurement template first, with three width and three height readings per pane
- Photograph each pane with the tape or reference in frame, labeled to match the template pane ID
- Photograph every obstruction with a rough size note, such as a handle that projects 3 inches onto the glass
- Photograph the frame and seal condition, because lifting seals and chipped edges change the overlap allowance
- Send the template and photos together, with the site name and date in the file names
A photo taken at an angle with no scale reference cannot be scaled reliably.
When a Photo Survey Is Not Enough
Some conditions require a physical measurement or a site visit before a graphic is ordered:
- Curved, angled, or unusually shaped glazing, where a flat photo hides the true chord and height
- Windows with deep reveals or thick seals that change the visible glass area
- Multi-panel fronts where mullion widths vary from pane to pane
In those cases, use the photo to plan the visit and the tape measure to confirm the numbers. The photo tells the designer what the window looks like; the tape tells the printer what size to cut.
Graphic-Specific Sizing Allowances and Material Tolerances
This is where most DIY measurements go wrong. A window graphic isn't a poster. It has to wrap, bond, and stay put. That means your final print size differs slightly from your glass size, and the difference depends on the film.
Here's how the main film types compare:
| Film Type | Sizing Approach | Watch For |
|---|---|---|
| Perforated film | Measure full visible glass; print to full pane | Alignment across mullions |
| Opaque vinyl | Add 1/4 to 1/2 inch overlap onto frame | Frame must be flat and clean |
| Clear film | Print to exact glass size, no overlap | Bubbles show through easily |
| Frosted privacy film | Measure to glass edge, trim at seals | Seal gaps cause lifting |
Clearance and Overlap for Different Films
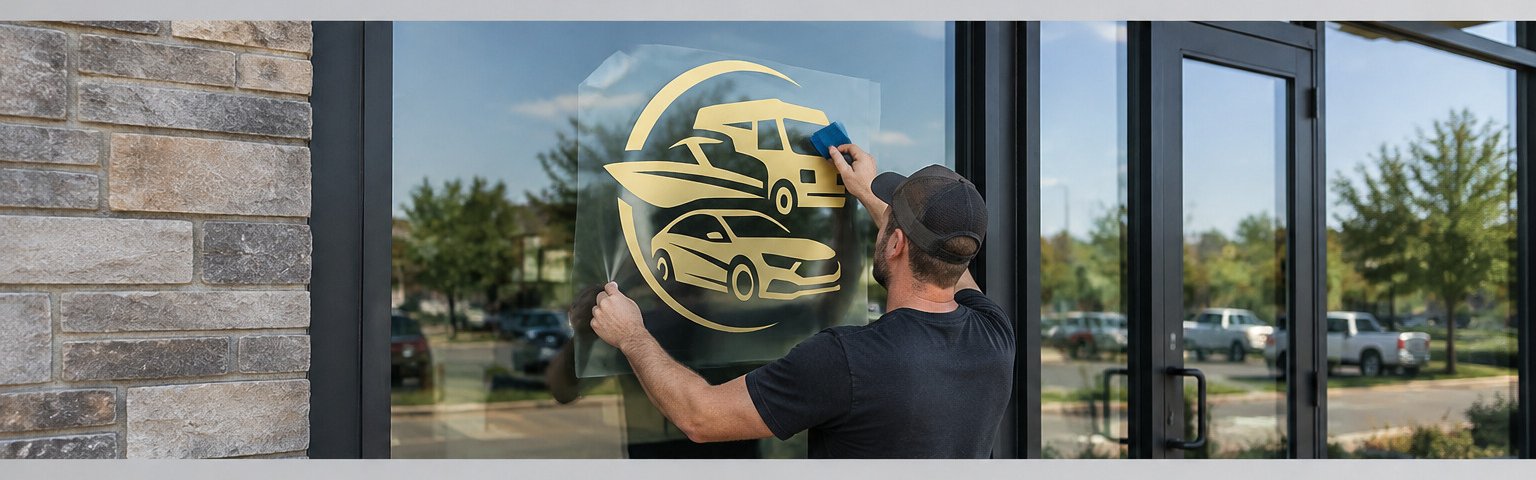
Opaque vinyl is often applied with a small overlap onto the frame.
If you're budgeting the project, our storefront window branding cost guide explains how coverage, materials, and install details shape a quote.
From Site Survey to Print-Ready Artwork: Your Next Steps with Pearl Wrapz
Measurement is the handoff point. Once your template is filled and your photos are saved, the file goes to design, then to print, then to install. A clean handoff saves everyone a revision cycle.
At Pearl Wrapz, we handle the full path from idea to installation. You can browse our storefront and window graphics options to see what fits your space, or get a quote and we'll take it from there.
Frequently Asked Questions
Should you measure the glass or the entire window frame for graphics?
Measure the visible glass area, not the frame. Window graphics are applied to the glass pane or film, so the frame is irrelevant unless you plan to wrap it. Use a tape measure to capture the glass dimensions at the top, middle, and bottom for width, and at the left, center, and right for height. Record the smallest measurement to ensure the graphic fits without overlapping the frame or seal.
How much extra material should you allow when measuring for window graphics?
Allow a small clearance, typically 1/8 to 1/4 inch on each side, depending on the film type and installation method. For perforated or opaque films, a tighter tolerance may be needed to avoid light gaps. Always round down to the nearest 1/8 inch when recording dimensions. Your installer can advise on specific overlap requirements based on the material and window condition.
Can you measure a window for graphics from a picture?
Yes, but only if the photo includes a reference object of known size, such as a tape measure or a standard sheet of paper, placed against the glass. Without a scale reference, photo measurements are unreliable. For remote surveys, take multiple photos from straight-on angles. Always verify critical dimensions on site before printing.
How do you measure a multi-panel storefront window for graphics?
Measure each panel individually, recording width and height at multiple points. Note the gaps between panels (mullions) and any obstructions like handles or seals. If the graphic spans multiple panels, provide overall dimensions plus panel-by-panel measurements. Use a window graphic measurement template to keep data organized. For divided or curved glazing, trace a template or use a flexible measuring tape to follow the contour.
Measuring windows for graphics rewards patience over speed. Three readings per side, the smallest number wins, and every obstruction gets written down. Do that, and your graphics will fit the first time.
Get started with Pearl Wrapz and turn your storefront glass into branding that works as hard as you do.