 How-to
How to Prepare Surfaces for Decals: 7 Steps That Work
Quick Summary
To prepare surfaces for decals, dry-wipe loose dirt, wash with warm water and mild dish soap, rinse, wipe with isopropyl alcohol on a lint-free cloth, and let the surface dry completely before applying. Skipping any step leaves residue under the adhesive that causes bubbles and edge lift.
- Most decal failures come from dust, oil, or wax left under the adhesive, not the vinyl itself.
- Use isopropyl alcohol on painted, glass, and plastic surfaces; avoid acetone and lacquer thinner on painted panels.
- Fresh paint that feels dry may still be outgassing, so confirm cure with the painter or data sheet first.
- Work in moderate temperatures; direct sun and cold surfaces both hurt adhesion.
Table of Contents
- Why Surface Preparation Decides Whether a Decal Lasts
- Identify the Surface Material and Finish Before You Start
- How to Clean a Surface Before Applying Vinyl Decals
- How Long to Wait Before Applying Decals to Fresh Paint
- Best Temperature for Applying Vinyl Decals
- Vinyl Decal Application Tools and Supplies
- Booking Surface Prep and Installation With Pearl Wrapz
- Frequently Asked Questions
Why Surface Preparation Decides Whether a Decal Lasts
Most decal failures have nothing to do with the vinyl itself. They happen because dust, oil, or wax sat under the adhesive, which is why careful surfaces prep matters more than the material you choose. A decal can only bond to the clean layer on top of the surface, so anything in between weakens the hold.
A common mistake is rushing the wipe-down and pressing the decal on anyway. Bubbles, lifted corners, and early peeling usually trace back to that single shortcut.
Identify the Surface Material and Finish Before You Start
Surface material is the single biggest variable in prep. The same wipe that is safe on glass can cloud a plastic trim panel or dull a fresh clear coat. Identify the substrate and its finish before you open a bottle of anything.
Painted metal and clear-coated panels
Automotive paint and factory clear coats are durable but not solvent-proof. Mild dish soap and water, followed by isopropyl alcohol (70% isopropyl alcohol is the common strength; higher concentrations flash off faster and give less working time), is the safe default. Avoid acetone, lacquer thinner, brake cleaner, and adhesive removers on painted panels, they can soften or stain the clear coat, and the damage often shows up days later as a hazy patch under the decal.
Glass
Glass is the most forgiving substrate but the most revealing of residue. Soap residue, hard-water minerals, and old adhesive all show up as edge lift. Clean with soap and water, then wipe with isopropyl alcohol and dry with a lint-free cloth. Do not use ammonia-based glass cleaners before applying vinyl, the ammonia can leave a film that interferes with the adhesive, and it is unnecessary once the glass is already clean. If the glass has been treated with a rain-repellent coating, that coating is a release layer; it must be removed or the decal will not bond.
Plastic and trim
Plastic varies widely. Rigid ABS and polycarbonate panels take alcohol wipes well. Soft-touch and textured interior plastics can be damaged by strong solvents, and porous plastics trap cleaner in the grain. Use mild soap and water, rinse thoroughly, and let the part dry longer than you think, plastic outgasses and holds moisture in textured areas. Test any cleaner on a hidden spot first. On unpainted plastic, a plastic-safe prep wipe is preferable to a generic degreaser.
Wood and painted wood
Wood is porous and dimensionally unstable. Wipe with a barely damp cloth, not a wet one, and avoid soaking the surface. Solvent-based cleaners can lift paint or raise grain. Let wood dry fully, moisture trapped under a decal will cause bubbling and mold. On finished wood, use the same mild soap and alcohol approach as painted metal, but with lighter pressure.
Textured and matte surfaces
Textured walls, powder-coated panels, and matte finishes hold dirt in their grooves and offer less contact area for the adhesive. They need a longer cleaning pass and a more aggressive mechanical action (a soft brush rather than a cloth) to reach into the texture. Matte finishes scratch easily, so use a non-abrasive pad. Expect lower initial tack on textured surfaces; a decal may need a longer dwell time or a higher-tack adhesive to hold.
A quick material check
Before cleaning, answer three questions: What is the top layer (paint, clear coat, bare plastic, glass, wood)? Is the finish glossy, matte, or textured? Has anything been applied to it (wax, coating, protectant, old adhesive)? The answers determine which cleaner is safe and how many passes you need.
How to Clean a Surface Before Applying Vinyl Decals
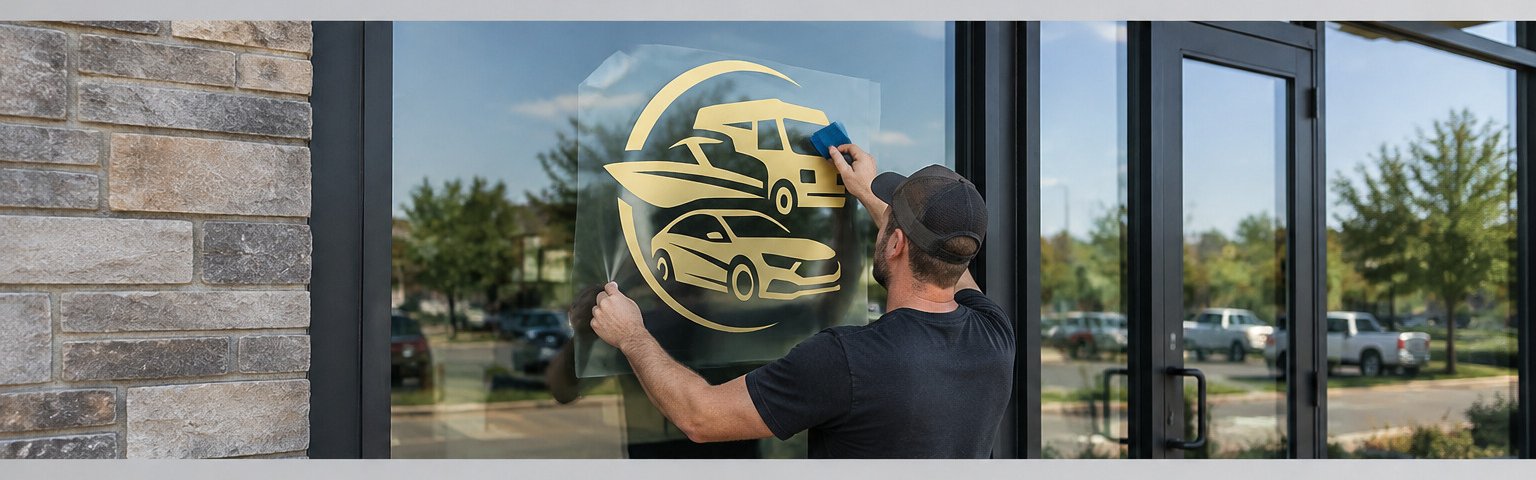
Follow the same sequence every time when you prepare surfaces for decals. Working in order keeps residue from spreading across the area you just cleaned.
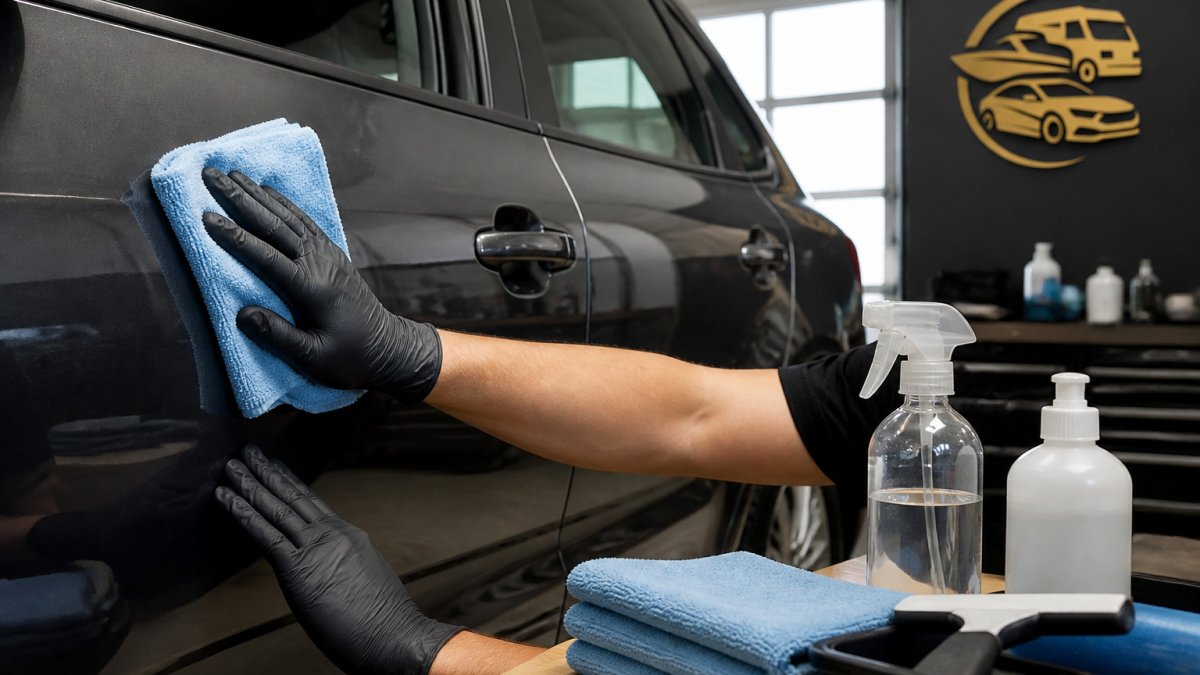
- Remove loose dirt and dust with a dry microfiber cloth.
- Wash with warm water and a mild dish soap.
- Rinse with clean water and let the surface air dry.
- Wipe with isopropyl alcohol on a lint-free cloth.
- Let the surface dry completely before you touch it.
Avoid paper towels for the final wipe. They can leave lint behind, and that lint sits right under your decal.
Removing Loose Dirt, Dust, and Grease
Start dry. Brush or wipe away loose grit first so it does not turn into mud when you add water. For the broader printing-to-application workflow, see the full vinyl graphics printing steps. Then look for grease, wax, and silicone, which are the most common causes of poor adhesion.
Greasy spots often look clean but feel slightly slick. Run your fingertip across the area. If it drags or feels smeared, it needs another pass.
Choosing Isopropyl Alcohol, Mild Soap, or Degreaser
For most jobs, a mild soap and water wash followed by isopropyl alcohol gives reliable results. Soap lifts dirt and oil. Alcohol removes the thin film that soap can leave behind.
Watch out: never skip the final alcohol wipe on glass or painted metal. Soap residue is invisible but enough to make a decal lift at the edges.
The article lays out a five-step cleaning sequence that works the same way on most surfaces.
| Step | What to do |
|---|---|
| 1 | Remove loose dirt and dust with a dry microfiber cloth |
| 2 | Wash with warm water and mild dish soap |
| 3 | Rinse with clean water and let the surface air dry |
| 4 | Wipe with isopropyl alcohol on a lint-free cloth |
| 5 | Let the surface dry completely before touching it |
How Long to Wait Before Applying Decals to Fresh Paint
Fresh paint is the most common cause of decal failure that gets blamed on the vinyl. The problem is not the paint itself, it is the solvent still leaving the film.
Dry-to-touch is not cured
Paint can feel dry to the touch long before it has finished curing and releasing solvent. A decal applied over paint that is still outgassing traps those solvents under the adhesive. The result is bubbles, a soft bond, and in bad cases solvent pop that lifts the paint when the decal is eventually removed. Dry-to-touch tells you the paint can be touched; it does not tell you the film is ready for an adhesive.
The practical cure window
There is no single number, because cure time depends on paint type, film thickness, number of coats, and conditions. As a working rule, most refinish and OEM paint systems need weeks, not days, before they are fully cured, and the manufacturer's technical data sheet is the only authoritative source for a specific product. When the data sheet is unavailable, the safe pattern is to wait substantially longer than the dry-to-touch time and to confirm with the painter or the paint supplier. A common pattern among installers is to treat anything under a few weeks as still curing and to require explicit confirmation before applying vinyl.
What changes the window
- Paint type: Urethane and catalyzed systems cure differently from lacquer and from waterborne paints. Waterborne and low-VOC systems can release solvent more slowly.
- Film thickness and coats: Thicker films and extra clear coats hold solvent longer.
- Temperature and airflow: Warm, ventilated conditions speed cure; cold, humid, or enclosed spaces slow it.
- Clear coat: A fresh clear coat is its own curing layer and must be treated as uncured even when the base coat is older.
How to confirm readiness
Ask the painter for the cure date and the product data sheet. If you cannot get either, confirm readiness with the painter or paint supplier before proceeding. Never apply a decal to a panel that still smells of solvent, that smell is outgassing.
Fresh paint and the rest of the prep sequence
Cure time does not replace cleaning. Once the paint is confirmed cured, run the full sequence, dry wipe, mild soap and water, rinse, isopropyl alcohol, full dry, before the decal goes down. Cure and cleanliness are separate gates, and both must pass.
Best Temperature for Applying Vinyl Decals
Temperature affects how well vinyl sticks and how easily it stretches over curves. Temperature affects how vinyl adheres, so moderate conditions are preferable.
Working in direct sun or on a hot panel makes the adhesive grab too fast, which leaves little room to reposition. Cold surfaces do the opposite: the adhesive stays stiff and bonds poorly. Bring the surface and the decal to a comfortable room-like temperature when you can, and avoid applying outdoors on a freezing or scorching day.
Vinyl Decal Application Tools and Supplies
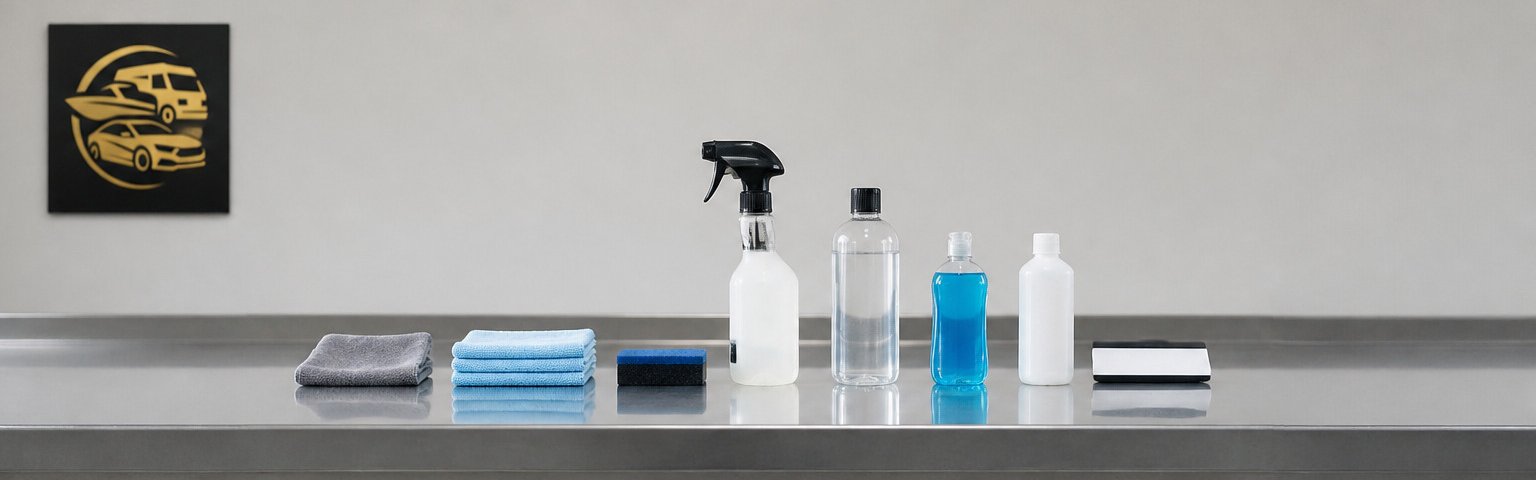
Having the right tools on hand keeps the job moving. A typical kit includes:
- Microfiber cloths and lint-free wipes
- Mild dish soap and a bucket of clean water
- Isopropyl alcohol
- A squeegee with a soft felt edge
- A sharp knife or precision blade for trimming
- Transfer tape for keeping the decal aligned
- A heat gun for stretching vinyl over curves
Keep a separate cloth for alcohol and another for soap so residue does not cross over.
Booking Surface Prep and Installation With Pearl Wrapz
Surface prep is detailed work, and it is where DIY attempts often go wrong. Our guide to professional vehicle wrap installation explains what a professional install involves and what to ask before booking. If you want the job done right the first time, you can request a practical project estimate for car wraps in Sherman, TX from our team. For fleet and commercial graphics, our vehicle wraps and fleet graphics services cover full wraps, partial wraps, and lettering. If your project is a storefront, our storefront and window graphics team handles lettering, promotional windows, and privacy film.
Pricing depends on the surface, the size of the project, and the design, so contact us for a quote tailored to your space.
Frequently Asked Questions
How do you prepare a surface before applying a decal?
Start by identifying the surface material and finish, then remove loose dirt and dust with a dry cloth. Wash the area with mild soap and warm water to lift grime, then wipe it with isopropyl alcohol to remove grease, wax, and residue. Rinse with clean water if you used soap, dry the surface completely, and avoid touching the prepared area with bare fingers. Apply the decal only after the surface is clean and dry, since any leftover contamination can cause lifting, bubbles, or early peeling.
What should you use to clean a surface before applying vinyl decals?
Clean the surface to remove dirt, grime, and oily residue before applying the decal. Avoid harsh solvents on painted or plastic surfaces unless the manufacturer recommends them, because they can damage the finish. Let the surface dry fully before applying the decal.
How long should a surface dry before applying a decal?
A cleaned surface should dry completely before application. Surfaces that were washed with water need to be fully dry because trapped moisture can prevent the adhesive from bonding. Check the surface by looking for any wet streaks or shine before you proceed. Drying thoroughly is one of the simplest steps that improves adhesion and reduces the chance of bubbles.
Can you apply decals to a freshly painted surface?
Freshly painted surfaces need time to cure before decals are applied. Check the paint manufacturer's technical data sheet for your coating. Applying a decal too early can cause the adhesive to bond poorly or pull paint when removed.