 ultimate-guide
Indoor Wall Mural Installation Services: A Complete Guide
Table of Contents
- What Indoor Wall Mural Installation Involves
- How to Prepare Walls for Vinyl Mural Installation
- Wall Mural Installation Timeline: What to Expect
- Material Options: Vinyl, Wallpaper, and Wall Wraps
- Commercial Wall Mural Cost Per Square Foot and Budget Factors
- The Professional Installation Process
- Maintenance, Lifespan, and Removal
- Frequently Asked Questions
Last Updated: October 21, 2026
What Indoor Wall Mural Installation Involves
Indoor wall mural installation services transform blank walls into branded focal points through custom vinyl, wallpaper, or wall wrap applications. At Pearl Wrapz, we handle the complete process from design consultation through final installation.
A wall mural installation requires precise measurement, surface assessment, design alignment, and installation technique, understanding your wall's condition, selecting the right material for your environment, and executing so seams are invisible and edges are clean.
The scope typically includes consultation on branding goals, design development and approval, material sourcing and printing, on-site surface preparation, and professional installation. For commercial projects, we schedule work to minimize disruption to your operations.
How to Prepare Walls for Vinyl Mural Installation
Proper wall preparation is non-negotiable: even a pristine mural fails on an unprepared surface.
Clean the wall thoroughly with a TSP (trisodium phosphate) solution or equivalent degreaser to remove dust, dirt, and grime, since residue creates adhesion failure points. Let it dry completely, as moisture is the enemy of vinyl adhesion. If existing paint is peeling, flaking, or chalky, scrape or sand it to solid substrate.
Fill gaps, holes, and imperfections with spackling or drywall joint compound, then sand smooth once dry, since rough patches create visible ridges and premature peeling. Light texture is usually manageable; heavy popcorn or stucco may require skim coating.
Surface Compatibility and Problem Areas
Glossy or semi-gloss paint creates poor adhesion, so sand to a matte finish or apply a primer designed for slick surfaces. Bathrooms, kitchens, and walls near water sources require moisture-resistant primers and materials rated for humid environments. Never apply vinyl to damp walls, as moisture causes bubbling and failure.
Brick and concrete are porous and may require sealing before vinyl application. Textured walls need assessment to determine whether texture removal is necessary or if materials can bridge it. Old wallpaper must be completely removed; vinyl won't adhere to wallpaper backing.
Wall Mural Installation Timeline: What to Expect
A wall mural installation varies in timeline from kickoff to completion, depending on design complexity and wall conditions.
Consultation and design involve discussing your vision, brand objectives, and wall specifications, then providing mockups for approval. Printing time depends on mural size and material, while your wall is assessed and prepped if needed.
Installation time depends on dimensions and wall complexity. We schedule around your operations, often after hours or on weekends for retail locations.
Material Options: Vinyl, Wallpaper, and Wall Wraps
Material choice drives durability, appearance, installation difficulty, and total cost. The formats below are not interchangeable, each wins in different rooms and use cases.
The Three Formats at a Glance
Calendared vinyl is the workhorse for commercial murals: a thinner, more economical film for flat, smooth walls. It prints with high color accuracy, cleans easily, and comes in matte, satin, and gloss finishes, but is less conformable than cast vinyl, making it a poor fit for curves, rivets, or heavy texture.
Cast vinyl is thinner and more conformable, stretching around corners, columns, and mild texture without lifting. It costs more per square foot but delivers cleaner wraps and longer outdoor-capable performance, often the difference between a seamless result and visible bridging at corners.
Traditional and non-woven wallpaper murals use paste-activated paper or non-woven substrates, offering a softer, tactile finish favored in residential and boutique commercial interiors. They are less cleanable and less suited to high-moisture rooms, but deliver a premium look vinyl cannot fully replicate.
Wall wraps are a large-format application of vinyl across broad or wrapping surfaces, the right choice when the goal is an immersive branded environment spanning multiple wall planes.
Comparison by Environment and Use
| Factor | Calendared Vinyl | Cast Vinyl | Wallpaper Mural |
|---|---|---|---|
| Best wall type | Flat, smooth drywall | Curves, columns, mild texture | Flat, smooth, well-prepped walls |
| Finish options | Matte, satin, gloss | Matte, satin, gloss, textured | Matte, textured, fabric-like |
| Cleanability | High, damp cloth, mild soap | High | Moderate, dry or lightly damp only |
| Moisture tolerance | Good with sealed edges | Good | Low, avoid bathrooms and kitchens |
| Removability | Removable and permanent grades | Removable and permanent grades | Removal more involved, may need steaming |
| Typical indoor lifespan | 5-7 years | 5-7+ years | 5-10 years with care |
| Relative cost | Low to mid | Mid to high | Mid |
| High-traffic suitability | Excellent | Excellent | Moderate |
Matching Material to Room
- Retail floors and high-traffic corridors: calendared or cast vinyl with a matte or satin finish and a protective laminate. Cleanability and scuff resistance matter more than tactile finish.
- Offices and conference rooms: cast vinyl for walls with columns or corners; add a UV-resistant laminate on walls with floor-to-ceiling windows.
- Bathrooms and kitchens: vinyl only, with sealed edges and moisture-resistant wall prep. Wallpaper murals are a poor fit here.
- Hospitality and boutique interiors: wallpaper murals where the softer finish is the point, provided the wall is flat and dry.
- Feature walls with curves or texture: cast vinyl, or skim-coat the wall first if calendared vinyl is preferred for budget reasons.
Removable vs. Permanent Adhesive
Both vinyl formats come in removable and permanent adhesive grades. Removable adhesive suits leased spaces, pop-up activations, and seasonal campaigns, peeling cleanly from properly primed walls without damaging paint. Permanent adhesive delivers a stronger long-term bond for brand environments meant to stay for years. The adhesive grade, not the film color or finish, determines whether removal damages the wall.
Indoor vs. Outdoor Material Durability
Indoor-rated films are engineered for stable temperature and humidity. Outdoor-rated films add UV inhibitors and weather resistance. Do not substitute indoor film outdoors, it will fade and fail quickly.
If you are unsure which format fits your wall and room, send photos and dimensions and we will recommend the material that balances appearance, durability, and budget for your specific space.
Commercial Wall Mural Cost Per Square Foot and Budget Factors
Pricing for indoor wall mural installation depends on several factors: design and artwork, printing and material, wall preparation, and installation labor. Understanding how each contributes to the total can help in comparing quotes.
How the Four Cost Centers Break Down
Design and artwork. If you supply print-ready artwork to spec, design cost is minimal or waived. If the design must be created, adapted to your wall dimensions, or built from brand assets, expect a fee that scales with complexity, a text-and-logo graphic is the low end, a photorealistic illustrated mural the high end. Approve artwork against a dimensioned proof before production, since revision rounds add time and cost.
Printing and material. Material varies by substrate: standard calendared vinyl, cast vinyl and textured or fabric-backed wallcovering, and specialty finishes (metallic, canvas-textured, acoustic). Printing can have economies of scale.
Wall preparation. This is the most variable line item and the one most often underestimated. A clean, smooth, painted drywall wall may need only cleaning and a primer coat, while patching, skim coating over texture, wallpaper removal, or moisture remediation can add substantial labor and materials. Ask for prep to be itemized separately from installation.
Installation labor. Labor scales with square footage, but also height, access, and complexity: a single-story wall reachable from a step ladder installs faster than a two-story atrium requiring a scissor lift or scaffolding. Corners, columns, outlets, and fire equipment add cut-and-fit time, and after-hours or weekend scheduling typically carries a premium.
What Moves the Number Most
A useful sanity check when comparing proposals: ask each vendor to provide a proposal for the same wall dimensions, material, and prep scope.
Getting an Accurate Estimate
To provide an accurate estimate, a vendor needs five inputs: wall dimensions (height and width, including obstructions), substrate and current condition, photos in good lighting, artwork status (existing file or design needed), and your target install window. With those, a reputable installer can give a fixed-scope estimate rather than a vague range. Ask for design, material, prep, and labor to be separated.
For a project-specific number, share your wall dimensions and photos with our team and we will return an itemized estimate covering design, material, preparation, and installation.
The Professional Installation Process
Professional installation is where design becomes reality, and where precision, experience, and attention to detail separate quality results from mediocre ones.
Our installation process begins with an on-site final wall assessment: we verify measurements, confirm surface condition, and catch last-minute issues. The wall is then cleaned and prepped according to material type and surface condition, with primer applied if needed for vinyl.
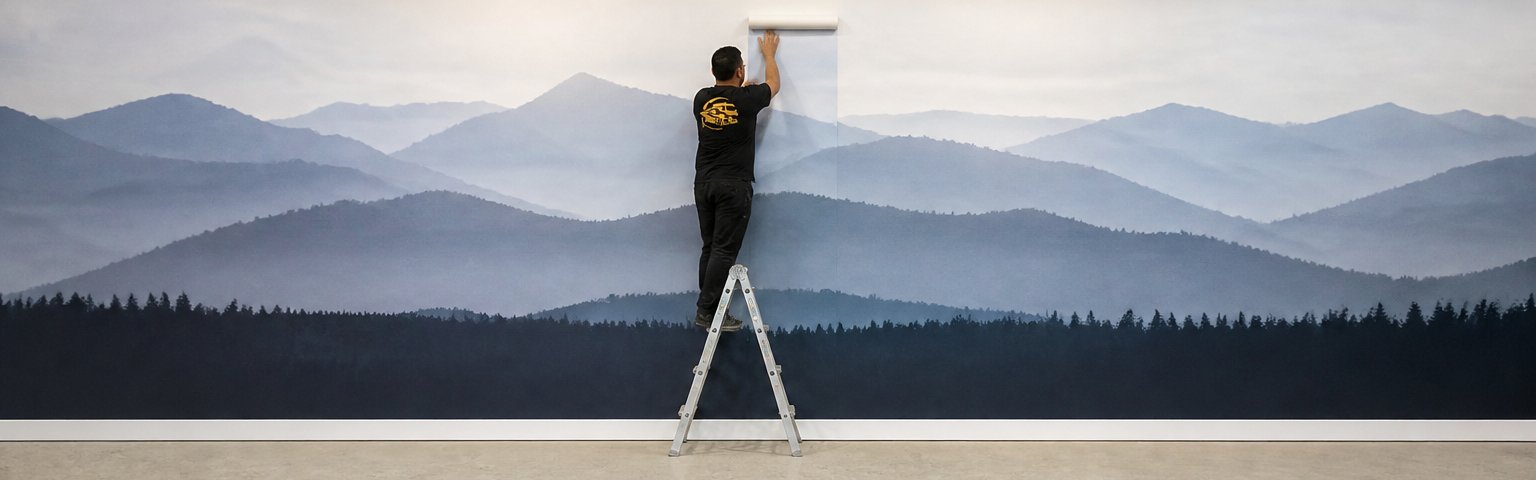
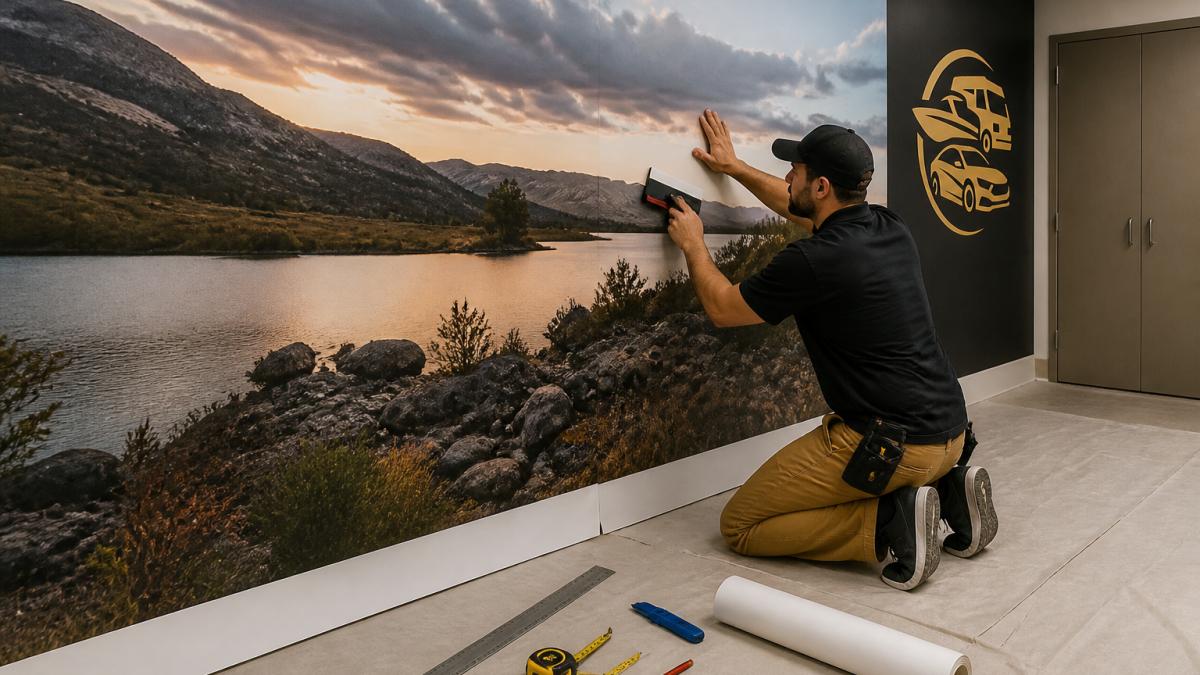
Installation starts with careful positioning: we measure and mark reference lines so the mural is perfectly aligned and level. Vinyl is applied gradually, section by section, smoothing out air bubbles with squeegee techniques. Seams are matched to be virtually invisible, and edges are trimmed precisely and sealed for a finished appearance.
Why Professional Installation Matters
DIY installation might seem cost-effective, but improper technique causes visible bubbles, wrinkles, misalignment, and premature peeling.
Professional installers bring experience with different wall types, materials, and environmental conditions. They know how to handle seams, manage corners, and work around obstacles like outlets and light fixtures, and they have the proper tools, squeegees, cutting equipment, measurement devices, to ensure precision.
Most importantly, professional installation includes accountability: if something goes wrong, the installer corrects it. DIY failures often waste material and require hiring professionals to fix the problem, ultimately costing more than professional installation would have.
Maintenance, Lifespan, and Removal
A properly installed vinyl mural lasts for years indoors under normal conditions, and proper maintenance extends that lifespan.
Clean your mural periodically with a soft, damp cloth and mild soap, avoiding abrasive cleaners or rough scrubbing that can damage the vinyl. In high-traffic or dusty spaces, gentle cleaning every few months keeps it fresh. Avoid placing furniture directly against the mural, as prolonged pressure can damage the vinyl or cause adhesion failure.
Sunlight accelerates fading, so for spaces with significant direct sunlight, consider UV-protective window treatments or fade-resistant materials during design. Temperature fluctuations cause expansion and contraction, so keep your HVAC system at a stable indoor temperature to minimize material stress.
When it's time to remove or replace your mural, professional removal ensures the wall isn't damaged. Correctly installed vinyl murals peel away without residue or damage to underlying paint. The wall can then be repainted or fitted with a new mural.
Professional wall mural installation transforms your commercial space into a branded environment that works harder for your business. The difference between a mural that impresses for years and one that fails prematurely comes down to material selection, surface preparation, and installation expertise.
Frequently Asked Questions
How much does professional wall mural installation cost?
Pricing for wall mural installation depends on several factors: wall size, material type, surface condition, design complexity, and installation labor. Contact Pearl Wrapz for a detailed quote tailored to your specific project dimensions and requirements.
What surface preparation is required for vinyl wall murals?
Proper wall preparation is critical for vinyl mural longevity. The wall must be clean, dry, and smooth. Remove dust, dirt, and loose paint. Fill holes and sand rough spots. For textured walls, a primer or skim coat may be needed to create a smooth base. Glossy surfaces require light sanding or primer to ensure adhesion. Pearl Wrapz handles full surface assessment and preparation during the consultation process.
How long do commercial wall murals last?
Indoor vinyl wall murals typically last for years when properly installed and maintained. Lifespan depends on material quality, wall environment (humidity, sunlight, temperature fluctuations), and maintenance. Outdoor murals face faster degradation from UV exposure and weather. Regular dusting and avoiding harsh chemicals extends the life significantly. Pearl Wrapz uses durable materials selected for your specific environment.
Can wall murals be applied to textured walls?
Textured walls present challenges for vinyl mural installation because the uneven surface can create air bubbles and adhesion problems. Smooth walls are ideal. If your wall is textured, options include applying a primer coat to smooth the surface, using a skim coat, or selecting alternative materials. A professional assessment during consultation determines the best approach for your specific wall condition.