 how-to
Vehicle Graphics Installation Services: A North Texas Guide
Table of Contents
- What Vehicle Graphics Installation Involves
- Commercial Vehicle Wraps for Fleet Branding
- Vehicle Graphics Cost: What Affects Your Budget
- The Vehicle Wrap Installation Process
- Vehicle Wrap Maintenance and Durability
- Why Size and Scope Matter for Your Fleet
- Beyond Vehicle Wraps: Window Graphics, Signage, and Interior Branding
- Choosing the Right Installation Partner
- Frequently Asked Questions
Last Updated: October 19, 2026
What Vehicle Graphics Installation Involves
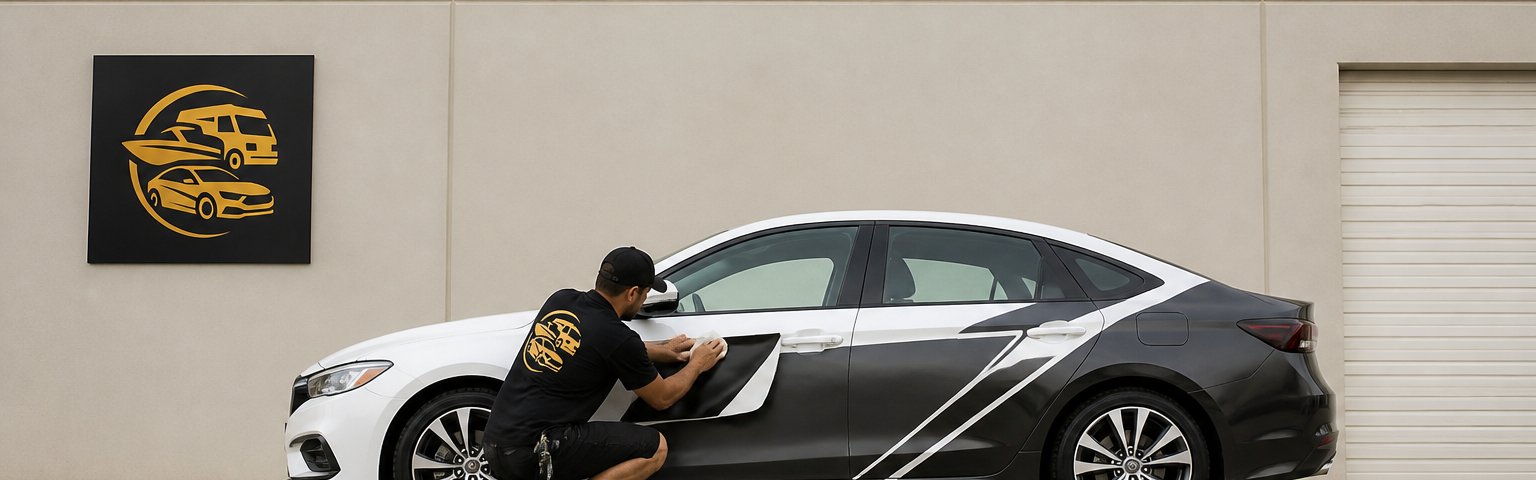
Vehicle graphics installation services north in Texas apply custom vinyl decals, wraps, or lettering to commercial and personal vehicles for mobile advertising and branding. At Pearl Wrapz, we handle everything from design through final installation, turning fleet vehicles and company cars into brand assets that work 24/7.
The scope of vehicle graphics installation services in North Texas ranges from vinyl lettering on a single truck door to full-wrap coverage on an entire fleet. Design, material selection, surface prep, application, and post-install care all factor into success.
Unlike simple stickers, professional wraps use high-quality vinyl that adheres to curved surfaces, resists weather and UV damage, and holds color for years. Installation requires skill and the right tools; small mistakes create bubbles, wrinkles, or misalignment.
Many business owners assume any sign shop can handle it, but vehicle surfaces present unique challenges, compound curves, seams, trim pieces, and irregular shapes, that demand expertise.
Commercial Vehicle Wraps for Fleet Branding
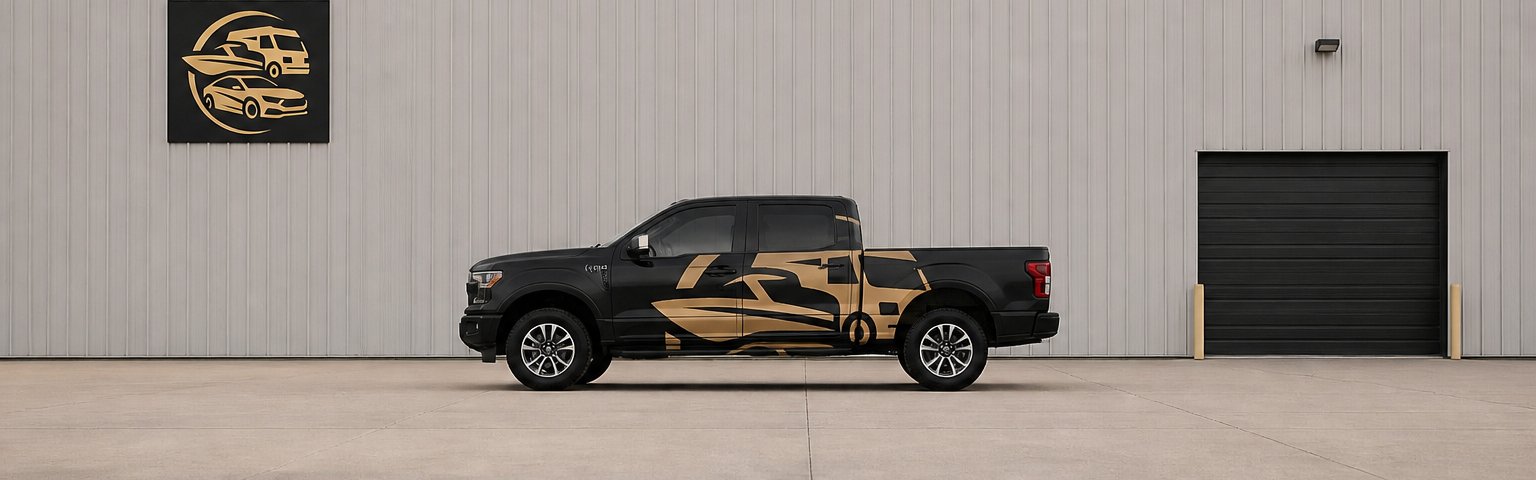
A commercial vehicle wrap transforms a company truck, van, or car into a moving billboard.
The advantage is simple math: a wrapped vehicle reaches thousands of people daily, traveling to neighborhoods, highways, and parking lots. That's why businesses with 2-3 vehicles see measurable results from vehicle wrap installation services.
A professional wrap also signals stability and legitimacy, and customers trust branded fleets more than unmarked vehicles.
Design matters enormously, generic lettering and a slapped-on logo won't cut it. Effective fleet graphics use color psychology, typography readable at highway speeds, and strategic placement.
Fleet branding also creates internal benefits: your team feels pride driving a professional vehicle and becomes brand ambassadors.
Vehicle Graphics Cost: What Affects Your Budget
Most quotes for vehicle graphics installation services are built from five cost buckets: film and laminate, design and artwork prep, surface prep and removal, labor hours, and post-install inspection and handoff.
Coverage area is the first lever. Pricing is usually quoted by the square foot of applied film, and the coverage tier drives most of the total:
- Spot graphics and door lettering: typically the lowest tier because the applied area is small and the install is flat-panel work.
- Partial wrap: covers roughly a third to two-thirds of the vehicle, often the doors, rear quarter, and tailgate, leaving painted pillars and roof exposed.
- Full wrap: covers the body panels, typically excluding the roof, jambs, and glass, and is the highest film-and-labor tier.
Because square footage varies by vehicle class, a compact sedan, cargo van, pickup, and box truck all land in different ranges even at the same coverage tier.
Film and laminate quality is the second lever.
Design and artwork prep ranges from typesetting existing logo files to full custom illustration.
Surface prep and removal is the most underestimated line item.
Labor hours track installation difficulty: flat panels and simple curves install faster than complex bumpers, mirrors, door handles, and recessed trim.
What a fair quote should include:
- Applied square footage and film brand/grade
- Laminate type and manufacturer warranty terms
- Design hours and number of revision rounds
- Prep and removal scope, itemized
- Estimated install days and cure time before washing
- Whether post-install inspection and edge-seal touch-ups are included
The lowest bid often omits removal, uses calendared film, or quotes a rushed install window, savings that show up later as edge lift, bubbling, or premature replacement.
The Vehicle Wrap Installation Process
A professional install follows a repeatable sequence: intake and inspection, surface preparation, template and panel layout, application, finishing and edge work, and final inspection with cure instructions. Skipping any step is why some wraps look sharp for years while others peel within months.
Step 1: Intake and Pre-Install Inspection
Before scheduling, the installer inspects the vehicle in person or via detailed photos, checking paint condition, prior bodywork, rust, dents, peeling clear coat, and existing vinyl or adhesive residue. Panels with failing paint or rust must be repaired or the film will lift as the substrate fails. The inspection also confirms the vehicle template so artwork is built to correct panel shapes.
Step 2: Surface Preparation
Preparation most determines wrap lifespan. The vehicle is washed with wax-free soap to strip road film and silicone dressings, then wiped with isopropyl alcohol or a dedicated prep solution to remove leftover oils. Emblems and trim that would trap film are removed where the design calls for it, old vinyl is removed with heat and adhesive remover, and panels are re-cleaned. The vehicle must be fully dry before application, because trapped moisture causes bubbles and adhesion failure.
Step 3: Template and Panel Layout
The printed graphics are cut to the vehicle template, and the installer dry-fits panels before removing backing paper, confirming alignment against door seams, body lines, and wheel arches. On multi-panel designs, registration points keep graphics lined up across doors and quarter panels. Catching misalignment now costs minutes; catching it after adhesion costs a reprint and reinstall.
Step 4: Application
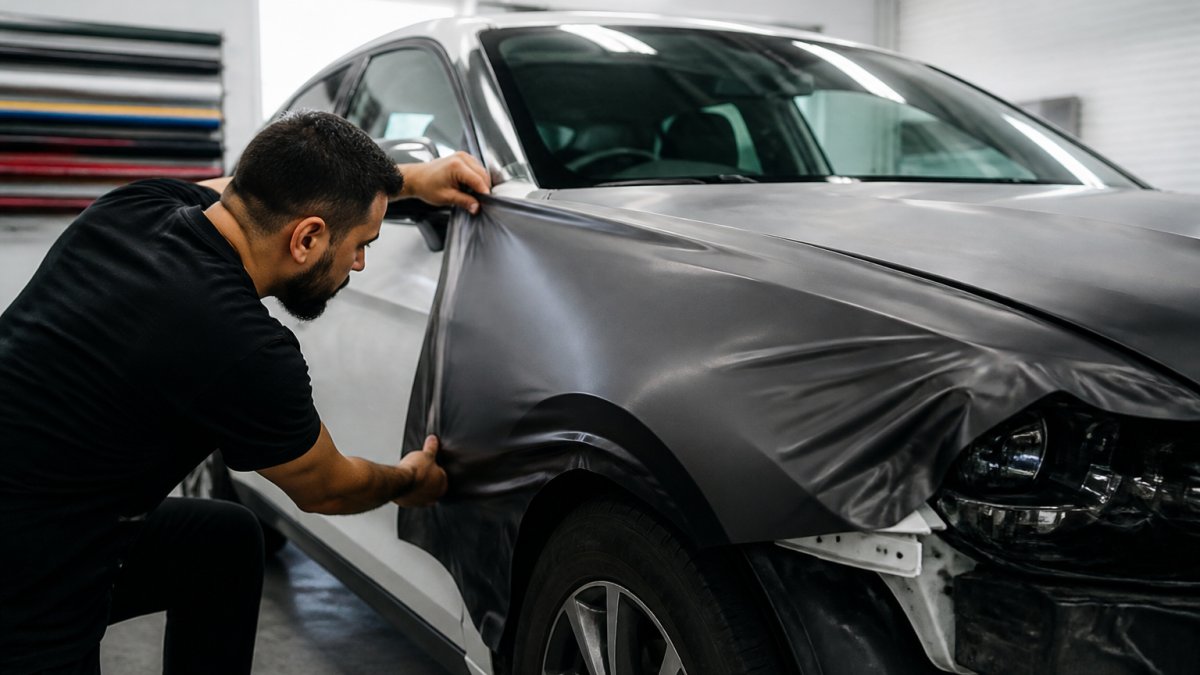
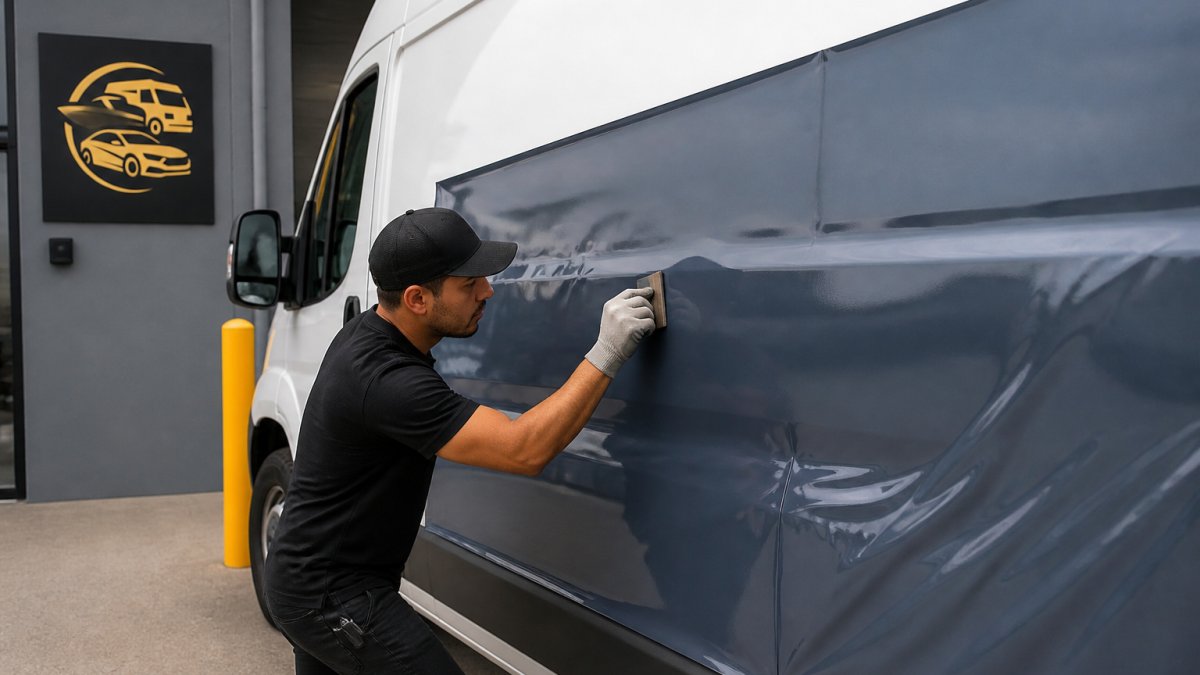
Application is done panel by panel: the installer peels back a section of backing, positions the film, and anchors it with a squeegee before working outward. Flat panels get firm overlapping strokes to push air ahead of the edge; compound curves get heat-gun warmth so the film conforms without overstretching. Relief cuts handle recesses, mirrors, and handles.
Step 5: Finishing and Edge Work
After the main panels are down, the installer post-heats edges and recesses to set the adhesive and prevent edge lift, trims excess film with a controlled cut, and tucks edges into jambs and behind trim where possible. Post-heating separates a durable install from one that peels at the corners after the first wash.
Step 6: Final Inspection and Cure Instructions
The finished vehicle is inspected under good lighting for bubbles, wrinkles, lifted edges, and misalignment, and small air pockets are pricked and pressed. The installer then walks the customer through cure instructions, no washing for the first several days, no pressure washing at edges, gentle hand washing with mild soap afterward, and provides warranty terms in writing.
Timeline and Downtime
A single vehicle with a partial wrap or spot graphics is often a same-day project; a full wrap on a complex vehicle takes longer because of prep, curve work, and finishing. Fleet projects are sequenced across multiple days so operations keep running.
Vehicle Wrap Maintenance and Durability
Durability depends on vinyl quality, installation precision, and how you care for it afterward.
Regular maintenance extends wrap life: hand wash with mild soap and water, avoid harsh chemicals, high-pressure washers, and abrasive scrubbing, and park in shade where possible.
Winter conditions in North Texas present specific challenges: salt and de-icing chemicals degrade vinyl if left uncleaned, so wash regularly during winter months, and remove snow and ice gently, never scrape directly on the wrap.
Common issues include edge lifting, where vinyl peels at corners or seams, usually from poor installation or surface damage.
Fading occurs gradually with any sun-exposed vinyl. Premium vinyl resists it better than budget options, and lighter colors fade more noticeably than darker ones.
Why Size and Scope Matter for Your Fleet
Fleet size dramatically affects ROI from vehicle graphics installation services: a single wrapped vehicle generates awareness, while a fleet of ten creates cumulative brand presence competitors can't ignore.
Small logistics companies often worry that wrapping a couple trucks won't justify the investment. The reality: two wrapped vehicles reach thousands of people monthly, reach you can't buy at comparable cost through digital channels, and unlike digital ads, wraps work continuously without ongoing spend.
Larger fleets benefit from consistent branding across all vehicles. When customers see multiple wrapped trucks over time, brand recognition accelerates.
Project scope, one vehicle or an entire fleet, also affects scheduling and logistics. We work with your team to sequence installations so operations keep running, coordinating multiple installation days for fleet projects to minimize disruption.
Beyond Vehicle Wraps: Window Graphics, Signage, and Interior Branding
Vehicle graphics are powerful, but they're one part of a comprehensive branding strategy. Window graphics, storefront signage, and interior branding create a cohesive customer experience across all touchpoints.
Retail locations benefit enormously from window graphics: eye-catching displays draw foot traffic and communicate your value proposition to people walking or driving past.
Floor graphics and interior signage guide customer behavior and reinforce branding inside your space. Reception areas, waiting rooms, and retail floors all become opportunities to strengthen brand identity.
Wall murals transform blank spaces into branded assets, creating a professional atmosphere and reinforcing company culture.
The key is integration: vehicle graphics, window displays, interior signage, and floor graphics should speak the same visual language.
Choosing the Right Installation Partner
Not all installation providers deliver equal results. The difference between a mediocre wrap and an exceptional one often comes down to the team handling the work.
Look for partners with demonstrated experience in vehicle graphics installation services north in Texas.
Communication and responsiveness are critical: a good partner asks about your goals, explains the process clearly, provides realistic timelines, and is available to address concerns and handle revisions.
Pearl Wrapz offers comprehensive vehicle graphics installation services in North Texas and southern Oklahoma, handling design, material sourcing, installation, and follow-up care.
Transforming your fleet or storefront into a branded asset demands expertise, attention to detail, and a partner who understands your business goals.
| Installation Type | Typical Scope | Key Considerations |
|---|---|---|
| Single-vehicle wrap | Full or partial coverage | Design complexity, vehicle curves, downtime |
| Fleet graphics | Multiple vehicles, consistent branding | Scheduling, logistics, brand consistency |
| Window graphics | Retail storefront display | Visibility at speed, design impact, seasonal updates |
| Interior signage | Reception, walls, floors | Space integration, durability, brand alignment |
| Vehicle lettering | Text and logo only | Typography readability, placement, material quality |
Frequently Asked Questions
What is included in vehicle graphics installation services?
Vehicle graphics installation services typically include design consultation, custom graphic creation, material selection, surface preparation, professional installation, and post-installation inspection. Full-service providers like Pearl Wrapz handle the entire process from concept through final application, ensuring your graphics are properly fitted and sealed. Installation also covers edge sealing and quality checks to prevent peeling or fading. Some providers offer removal services and can install client-supplied graphics as well.
How much does commercial vehicle wraps cost, and what factors affect pricing?
Vehicle wrap costs depend on vehicle size, design complexity, material quality, and installation scope. A partial wrap typically costs less than full coverage. Fleet discounts apply when installing multiple vehicles. Premium materials with extended warranties cost more upfront but last longer. Contact Pearl Wrapz for a detailed quote based on your specific vehicle specifications and design requirements, pricing varies significantly by project.
How long does vehicle wrap installation take?
Most vehicle wrap installations take 2-5 business days, depending on vehicle size and design complexity. Partial wraps may be completed in 1-2 days, while full wraps on larger commercial vehicles can take a week. Design and material production add time before installation begins. Pearl Wrapz coordinates scheduling to minimize fleet downtime. Contact us to discuss your timeline.
How do I maintain vehicle graphics to ensure they last?
Vehicle wrap maintenance includes regular hand washing with mild soap and water, avoid high-pressure washers that can lift edges. Park in shade when possible to slow UV fading. Don't use abrasive cleaners or wax on vinyl. Pearl Wrapz provides aftercare guidance specific to your materials.