 how-to
Why Professional Installation Matters for Vinyl Graphics
Table of Contents
- Why Professional Installation Matters for Vinyl Graphics
- Vinyl Graphics Surface Preparation: The Foundation of Success
- Tools and Techniques: What Separates Professional Results from DIY Mistakes
- DIY vs. Professional Vinyl Wrap Installation: Making the Right Choice
- How Long Do Vinyl Graphics Last: Durability and Maintenance
- Installation Challenges: Preventing Bubbles, Wrinkles, and Lifting
- Professional Installation for Different Surfaces: Vehicles, Walls, and Windows
- Quality Control and Acceptance: What Professional Installation Delivers
- Frequently Asked Questions
Last Updated: October 19, 2026
Why Professional Installation Matters for Vinyl Graphics
Vinyl graphics transform how your business looks, but design is only half the battle. A beautiful design installed poorly peels, bubbles, and fades.
At Pearl Wrapz, we've seen it hundreds of times: businesses spend real money on custom graphics, then cut corners on installation. Within months, edges lift, bubbles appear, and the whole thing looks amateur.
Why professional installation matters for vinyl graphics comes down to three things: surface preparation, technique, and durability. Skip any one, and your investment fails.
This guide breaks down what separates professional results from DIY disasters: the foundation work nobody sees, the tools and methods that matter, and what each path actually costs.
Vinyl Graphics Surface Preparation: The Foundation of Success
Surface preparation determines whether your vinyl graphics stick or fail. It's boring work. It's also non-negotiable.
Most installation failures start here. A team rushes through cleaning, skips priming, or doesn't check the substrate, then wonders why the vinyl lifted after two months. The problem was the prep.
Assessing substrate condition and material compatibility
Before any vinyl touches a surface, you need to know what you're working with. Different substrates demand different approaches.
A painted wall is different from raw drywall. A vehicle wrap needs different prep than a window decal. Aluminum, plastic, glass, wood, each has its own rules. If you apply vinyl to the wrong substrate without proper preparation, adhesion fails.
Check for existing damage: cracks, peeling paint, and rough spots transfer through the vinyl, so repair them first.
Temperature and humidity matter too. Most vinyl adheres best between 60°F and 85°F; freezing cold or extreme heat hurts adhesion, and humidity above 85% traps moisture that breaks the bond over time.
Cleaning and priming for optimal adhesion
Dirt, dust, and grease sit between the surface and the vinyl. The vinyl sticks to the dirt, not the substrate, and lifts when the dirt breaks down.
Professional installers clean with specific solutions: isopropyl alcohol for most surfaces, a degreaser for heavy buildup. The goal is a completely clean, dry surface with no residue.
Priming comes next on certain substrates. Bare wood needs it, and some plastics benefit.
Squeegee pressure during prep matters. Slow, deliberate strokes remove trapped moisture and air better than quick passes, and the surface should feel completely dry and smooth.
Tools and Techniques: What Separates Professional Results from DIY Mistakes
A cheap plastic squeegee leaves streaks and trapped air. A professional one has the right hardness, edge, and flex, gliding across vinyl without dragging or gouging.
Essential equipment for precise alignment and bubble prevention
You need:
- A precision squeegee (not a credit card or plastic scraper)
- A heat gun for stretching and setting vinyl
- A spray bottle for wet application
- Measuring tape and chalk line for alignment
- A cutting tool designed for vinyl (not a box cutter)
- Slip solution or application fluid
- Lint-free cloths and cleaning supplies
Each tool serves a purpose: the heat gun softens vinyl to conform to curves without tearing, the spray bottle delivers fluid evenly, and the chalk line keeps graphics straight.
Alignment is where most DIY attempts fail: you measure once, apply, then find the graphic half an inch off and create bubbles pulling it back. Professionals measure twice and use guides.
Bubble prevention starts with technique. Air gets trapped when you apply too fast or press too hard in one spot. Use methodical, overlapping squeegee strokes from the center outward, with consistent pressure.
Wet versus dry application methods
Two main approaches exist: wet and dry application.
Wet application uses a slip solution (usually water with a small amount of soap) that lets you reposition the vinyl. You spray the surface, apply the vinyl, then squeegee out the liquid and air.
Dry application means no slip solution: you position the vinyl once and press it down, with no second chance. It's faster but demands precision.
Professionals choose based on the job: large-format wall graphics often use wet application, vehicle wraps sometimes use dry, and window graphics might use either.
Wet application demands more experience. Too much slip solution and the vinyl slides around; too little and you can't reposition. One wrong squeegee move traps liquid underneath.
DIY vs. Professional Vinyl Wrap Installation: Making the Right Choice
DIY vinyl installation is possible, but possible doesn't mean smart. Here's what actually matters when you're deciding.
Cost of rework and quality control considerations
DIY saves money upfront on labor, but rework costs real money.
A failed vehicle wrap costs you the vinyl, the time, and credibility with customers who see it peeling. A failed wall mural means repainting and reapplying.
Professional installers guarantee their work: if bubbles appear, they fix it; if edges lift, they come back; if the graphic fails within the warranty period, they replace it. That guarantee protects your investment.
Quality control is real. A professional installer has done this hundreds of times, catches problems during installation rather than after, and knows how to handle curves, seams, and difficult surfaces.
Time, skill, and access requirements
DIY takes time. A vehicle wrap that takes a professional four hours might take you two days, and a wall mural could be a weekend project or a week-long nightmare.
Time is money. Time away from running your business is opportunity cost; a professional does it while you work.
Skill matters more than most people admit. Alignment looks easy until you're centering a graphic on a vehicle at an angle.
Access is the hidden challenge. A second-story wall needs equipment and safety planning, a vehicle wrap needs a clean, climate-controlled space, and floor decals need an empty, clean floor.
| Consideration | DIY | Professional |
|---|---|---|
| Upfront cost | Lower | Higher |
| Rework cost | Often needed | Included in warranty |
| Time required | 2-5 days | 2-8 hours |
| Skill level needed | High | Included |
| Access/equipment | Your responsibility | Included |
| Warranty/guarantee | None | Yes |
How Long Do Vinyl Graphics Last: Durability and Maintenance
A quality vinyl graphic lasts. A poorly installed one doesn't.
The vinyl itself, the material, can last seven to ten years outdoors, longer indoors. But installation quality determines whether you get that lifespan or half of it.
Adhesion, UV protection, and environmental factors
Adhesion breaks down when installation is wrong. If the surface prep was poor, adhesion fails in months. If the application technique was sloppy, edges lift in a year.
UV exposure matters. Vinyl in direct sun degrades faster than vinyl in shade. A vehicle wrap on a car parked outside ages faster than one garaged at night.
Environmental factors compound the problem. Salt air corrodes adhesive. Temperature swings stress the bond. Moisture seeps under poorly sealed edges. Wind puts stress on corners and edges.
Maintenance extends the life. Regular cleaning removes dirt and salt residue. Avoiding high-pressure washers prevents edge damage. Parking in shade or using a cover protects vehicle wraps.
Warranty and aftercare from professional installers
Professional installation comes with accountability. Most reputable installers warranty their work for one to three years against peeling, bubbling, and fading. That warranty means they stand behind the quality.
Aftercare matters. A professional can inspect your graphics periodically, identify problems early, and make repairs before they become failures. They know what to look for.
Pearl Wrapz includes aftercare guidance with every installation. We show you how to maintain your graphics, what to avoid, and when to call for service.
Installation Challenges: Preventing Bubbles, Wrinkles, and Lifting
Bubbles, wrinkles, and lifting are the holy trinity of installation failure.
Bubbles trap air under the vinyl. They expand over time, especially in heat.
All three are preventable. All three are also common in DIY attempts because the techniques that prevent them require practice.
Bubble prevention starts with slip solution in wet application.
Heat helps. A heat gun warms the vinyl, making it more pliable. Warm vinyl conforms better to the substrate.
Wrinkles happen when you stretch vinyl unevenly. One side gets pulled too tight while the other stays loose.
Lifting at edges is the most common long-term failure.
Professional Installation for Different Surfaces: Vehicles, Walls, and Windows
Installation technique changes based on what you're installing on.
Vehicle graphics and fleet branding
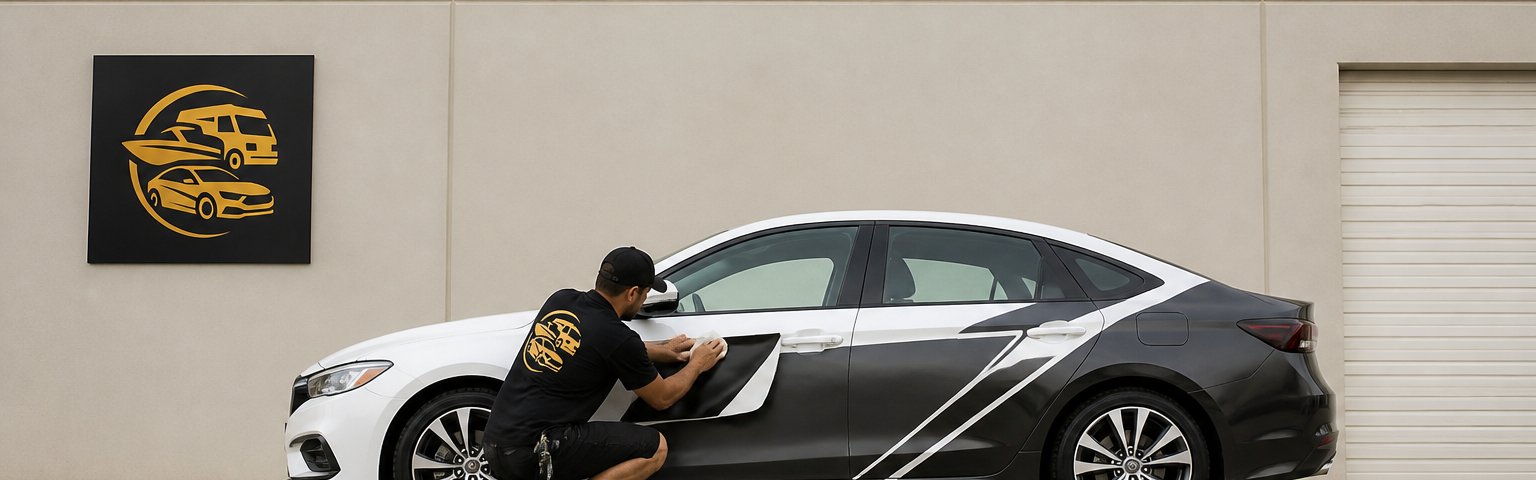
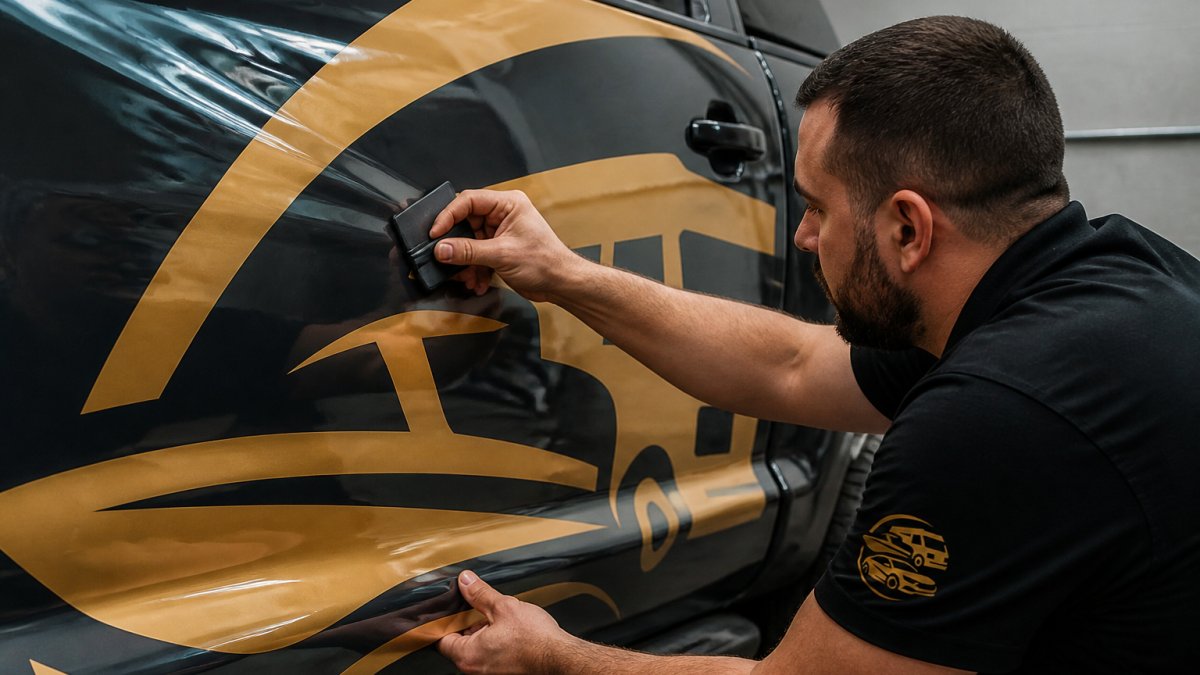
Vehicle wraps are complex. The surface is curved. The material is expensive. The stakes are high, your vehicle is moving billboard.
Vehicle prep is meticulous. The vehicle is washed, clay-barred to remove contaminants, and dried completely. Temperature matters, wraps go on best between 60°F and 85°F. Cold vehicles have poor adhesion.
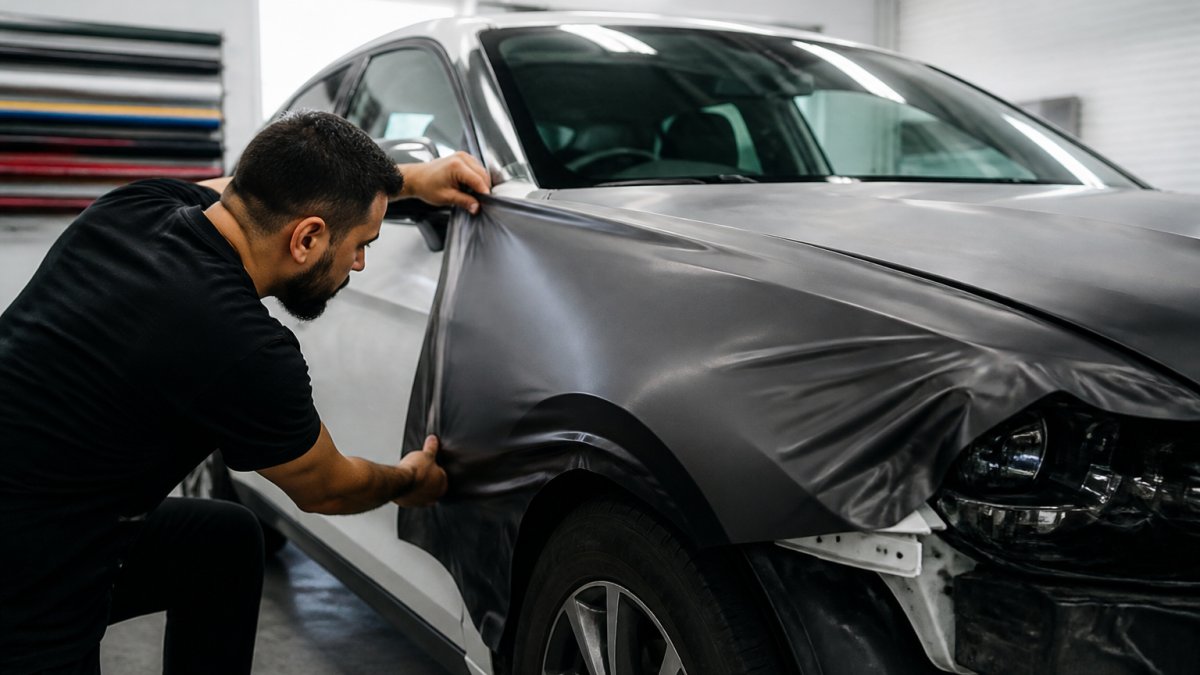
Application on curves requires skill. The vinyl must stretch without tearing. The installer uses heat to make the vinyl pliable, then carefully works it around curves. Seams must be perfectly aligned.
Fleet branding multiplies the complexity. Multiple vehicles, multiple wraps, consistency requirements. One wrap that looks different from the others damages the fleet's impact. Professional installers manage this consistency.
Wall murals and storefront window graphics
Walls are forgiving compared to vehicles. The surface is flat. But walls present their own challenges.
Existing paint condition matters. Glossy paint doesn't hold vinyl well. Matte paint is better. Damaged or peeling paint needs repair first. Some walls need primer before vinyl goes down.
Size is a factor. A ten-by-twenty-foot mural is complex. It requires planning, precise measurement, and multiple people. Alignment must be perfect.
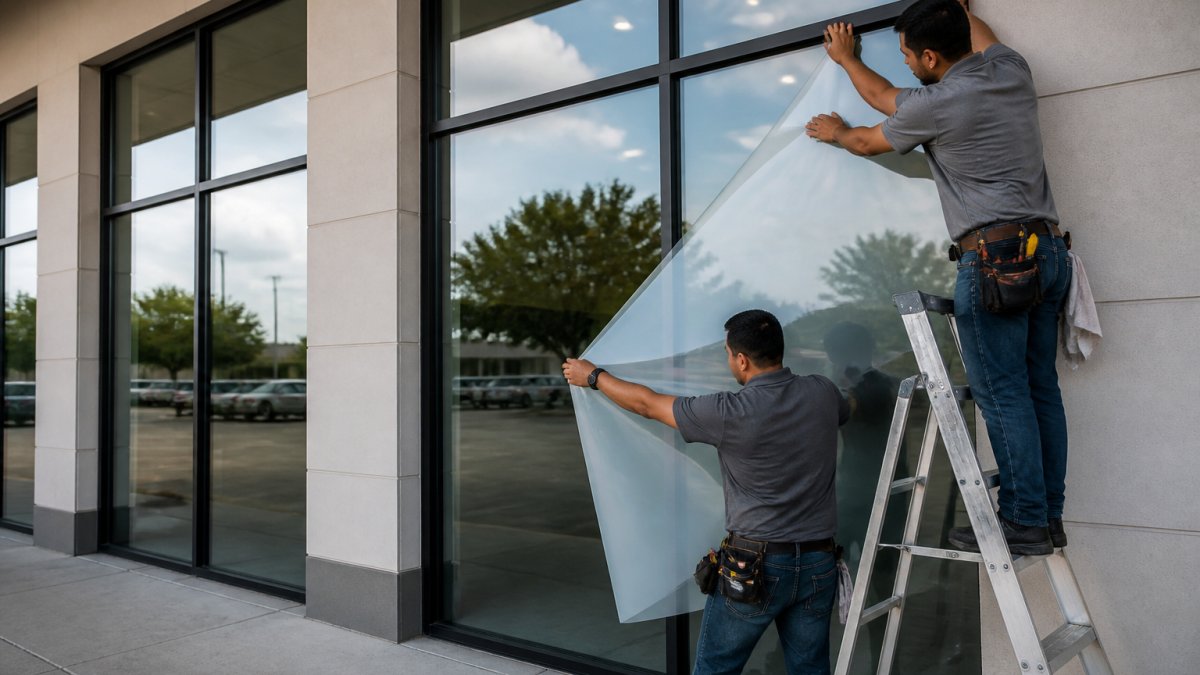
Window graphics are different again. Glass is slick. Vinyl grips better when the glass is clean, but not so clean that it's slippery.
Storefront window graphics need to be visible and readable. They're competing for attention. They're often viewed at speed or from a distance.
Quality Control and Acceptance: What Professional Installation Delivers
Professional installation includes quality control. This is what separates professional work from DIY.
A professional installer checks their work before they leave. They inspect for bubbles, wrinkles, and lifted edges. They verify alignment. They check that all seams are sealed.
Acceptance criteria matter. Before you pay, you should be able to inspect the work. The graphics should be bubble-free (or have only minor, acceptable bubbles).
Pearl Wrapz delivers quality control as part of every installation. We inspect our work before we consider the job complete. We stand behind what we install.
Documentation matters too. A professional provides photos of the finished work, care instructions, and warranty details.
Professional installation matters for vinyl graphics because it protects your investment. Pearl Wrapz brings that expertise to every project. Our project gallery shows real installations across vehicles, walls, and windows.
Frequently Asked Questions
Why should I hire a professional to install vinyl graphics?
Professional installers bring expertise in surface preparation, material handling, and precise alignment that DIY attempts often lack. They prevent costly mistakes like bubbles, wrinkles, and poor adhesion that can require expensive rework. Professionals also understand how different substrates, vehicles, walls, windows, require different application techniques. Their experience ensures your vinyl graphics adhere properly, look flawless, and last as long as the material's warranty allows.
How long do vinyl graphics last when professionally installed?
Professionally installed vinyl graphics typically last 5-7 years on vehicles and 7-10 years on stationary surfaces like walls and windows, depending on environmental exposure and material quality. Professional installation maximizes adhesion and protects against UV degradation, weather, and mechanical stress. Proper surface preparation and application technique extend durability significantly. Aftercare and maintenance from your installer also help preserve the graphics throughout their lifespan.
What's the cost difference between professional installation and DIY, and is it worth it?
Professional installation costs more upfront, but DIY often results in rework expenses that exceed the original savings. Common DIY errors like improper surface preparation, bubble trapping, and misalignment require removal and reinstallation, doubling your material costs. Professional installers also complete projects faster and deliver finish quality that protects your brand image. For fleet vehicles and high-visibility retail graphics, professional installation is an investment in durability and appearance that pays for itself.
How do professionals prevent bubbles and wrinkles in vinyl graphics?
Professionals use proper surface preparation, application fluid, and squeegee technique to eliminate bubbles and wrinkles. They clean and prime the substrate thoroughly to ensure consistent adhesion. During installation, they use wet or dry application methods suited to the surface and graphic size. They work methodically, using heat and precise squeegee pressure to release trapped air. Experience teaches them how to reposition vinyl if needed before final setting, something DIY installers rarely master.