 How-to
How to Design a Vehicle Wrap for Beginners
Last Updated: November 7, 2026
Quick Summary
The vehicle wrap design process has four steps: set goals and gather vehicle measurements, choose a verified vehicle template, build the artwork in layers, then run a checklist before print. Design happens on a computer, and installation is a separate stage done later by a trained installer.
- Write your goal in one sentence before opening any design software.
- Verify the template's year, make, model, and trim before designing.
- Keep text and logos clear of door seams, handles, and window edges.
- Ask for a printed sample of key brand colors, since colors shift on vinyl.
- Get a proof reviewed and approved in writing before production.
Table of Contents
- What a Vehicle Wrap Design Process Involves
- Step 1: Set Your Goals and Gather Vehicle Measurements
- Step 2: Choose a Vehicle Wrap Design Template
- Step 3: Develop the Concept and Build the Artwork
- Step 4: Run the Vehicle Wrap Design Checklist Before Print
- Commercial Vehicle Wrap Design Examples Worth Studying
- How Much a Vehicle Wrap Costs and What Drives the Price
- Booking Your First Wrap with Pearl Wrapz
- Frequently Asked Questions
Designing a vehicle wrap for the first time can feel overwhelming, but the process follows a clear sequence. The designs that succeed on the road almost always start with the same disciplined steps. Get the measurements wrong and the artwork will stretch or cut off at a door seam. For a realistic sense of how long each stage takes, see a practical timeline from artwork to pickup.
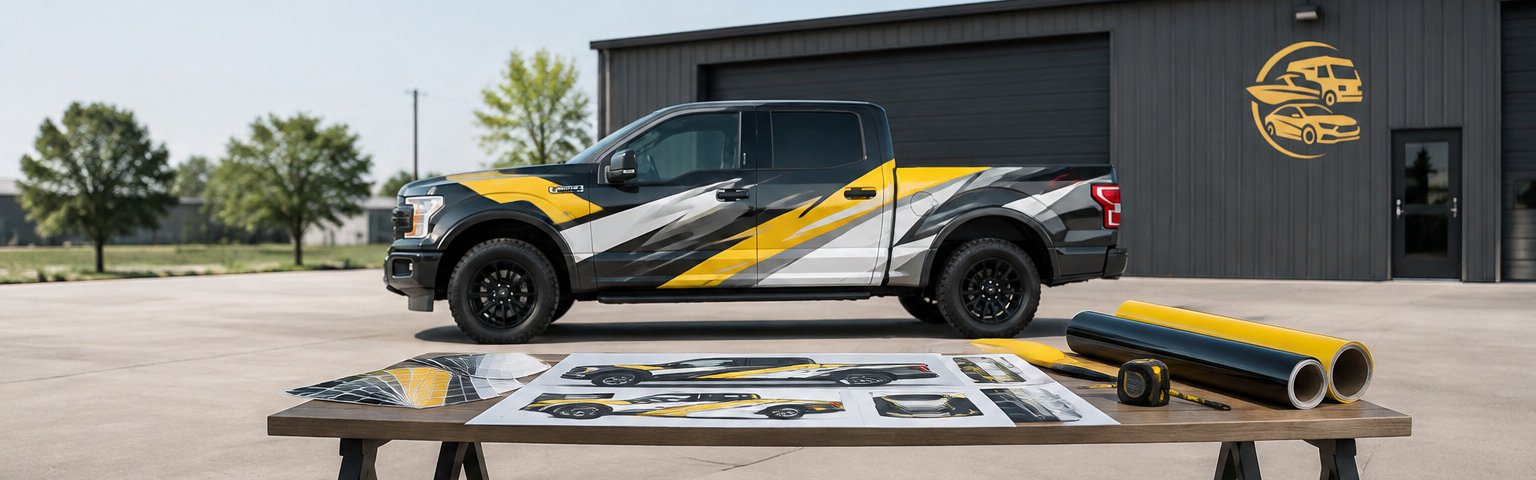
Vehicle wrap installation and design overview
What a Vehicle Wrap Design Process Involves
A vehicle wrap design is the layout you create, and it is printed on vinyl film that covers part or all of a vehicle. The process moves from planning to artwork to a print-ready file.
Many beginners treat design and installation as one job. They are two separate stages. Design happens on a computer, using accurate templates. Installation happens later, in a shop, by a trained installer.
The four steps at a glance:
- Step 1: Set goals and gather vehicle measurements
- Step 2: Choose a vehicle template
- Step 3: Develop the concept and build the artwork
- Step 4: Run the checklist before print
Step 1: Set Your Goals and Gather Vehicle Measurements
Start with one question: what should someone remember after seeing this vehicle for three seconds? A fleet truck needs a readable company name and phone number. A delivery van might need a clear logo and a single call to action.
Write your goal in one sentence. Then list the vehicle details you need:
- Make, model, and year of the vehicle
- Wrap coverage (full, partial, or spot graphics)
- Required text, logos, and contact information
- Any areas to keep clear, such as door handles, fuel doors, and windows
Measure the vehicle or get the official template dimensions before you open any design software. Guessing sizes is the most common reason artwork fails.
Step 2: Choose a Vehicle Wrap Design Template
A vehicle template is an outline of each panel, drawn to the vehicle's real dimensions. You place your artwork on top of it.
Where templates come from
There are three common sources, and each has a trade-off:
- Vinyl film manufacturers. Major film makers publish vehicle templates for many models. Coverage varies by make, model, and year.
- Template subscription services. These libraries cover thousands of vehicles and update yearly. They are convenient for fleets with mixed models, but you still have to confirm the template matches the exact trim level.
- Dealer or body-shop measurements. For older, modified, or unusual vehicles, a template may not exist. In that case, measure each panel yourself or have a shop do it, and build the outline from those numbers.
Whichever source you use, record the template version and the date you downloaded it. Templates get revised, and a file built on an outdated outline can be off by inches at a seam.
Verify the template before you design
Do not trust a template just because it downloaded cleanly. Run this check first:
- Confirm the year, make, model, and trim. A cargo van and a passenger van of the same model year can have different window openings and body lines.
- Check the overall length and height against the manufacturer's published dimensions for your vehicle. A template that is several inches off will throw every panel out of alignment.
- Compare panel shapes to a real photo. Photograph the vehicle from the side, front, and rear at a consistent distance, then lay the template next to the photos. Door handle positions, wheel arches, and fuel doors are the fastest tells.
- Confirm the template shows seams, handles, mirrors, lights, and glass. If any of these are missing, the template is too simple for a full wrap.
Watch out: a template that is accurate for a partial wrap can still be wrong for a full wrap, because full coverage depends on panel edges and seams that partial templates often omit.
Set scale, bleed, and safe areas
Once the template is verified, set up the file correctly before any artwork goes on it:
- Scale. Work at the template's stated scale and confirm the print shop will scale it back to full size. A file built at the wrong scale prints at the wrong size no matter how good the design looks.
- Bleed. Extend background color and graphics past each panel edge by the amount your print shop requests, commonly a quarter inch to a half inch.
- Safe area. Keep text, logos, and phone numbers inside a margin from every seam, handle, and glass edge.
- Panel seams. Treat each seam as a hard boundary. Artwork that crosses a seam can shift once the panels are joined. Design each panel to read correctly on its own, then check the joined layout.
Build the file in layers
Place the template on a locked bottom layer. Keep background color, graphics, text, and logos on separate layers above it. This lets you hide the template when you export, and it lets the print shop turn individual elements on or off during proofing. Name each layer clearly so anyone opening the file understands the structure without a call.
Step 3: Develop the Concept and Build the Artwork
Begin with a simple concept. Sketch two or three layouts on paper, then choose the one that reads most clearly from a distance. Use large type for the company name.
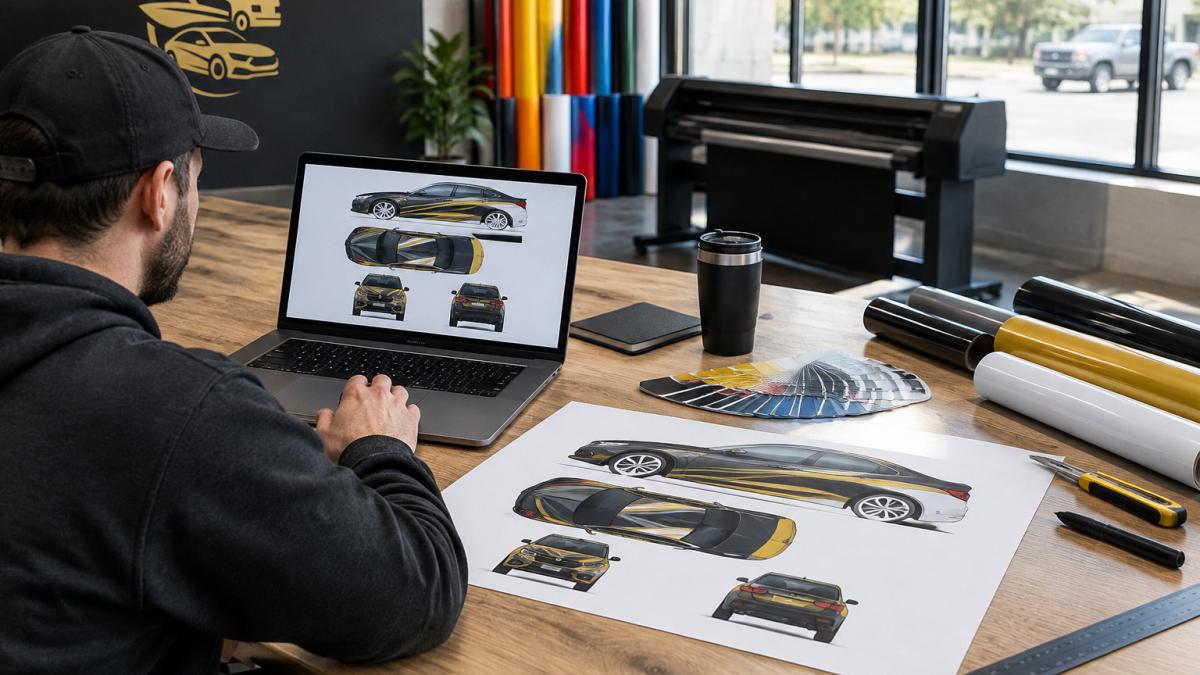
Build your artwork in layers inside your design software. Place the template on a locked layer, and keep your graphics on separate layers above it. This lets you hide the template when you export the final file.
Designing around panel seams, door handles and windows
Panel seams and door handles interrupt your design. Plan around them rather than letting them cut through your text or logo. Keep important words away from seams, and avoid placing critical details where a door handle will sit.
Watch out: do not put your phone number or main logo across a door seam or handle, because the detail will split or disappear once the vehicle is on the road.
Step 4: Run the Vehicle Wrap Design Checklist Before Print
Before you send any file to print, check each item below. This short review catches most problems. The checklist is organized around the four things that most often go wrong: size, placement, color, and file format.
Size and placement
- Artwork matches the verified template dimensions exactly, at the template's stated scale
- Bleed extends past the edge of each panel by the amount the print shop requests
- Important content sits inside the safe area, clear of seams, handles, and glass
- Text and logos stay clear of seams, handles, and windows
Resolution and color
- Resolution is high enough for large-format printing.
- Colors are set for print, not only for screen. Work in the color mode your print shop requests, and expect some shift from the colors you see on screen
- Spot colors and brand colors are noted in the file or in a separate spec sheet, so the print shop can match them as closely as the film allows
- A printed proof or a calibrated digital proof has been reviewed, not just the on-screen file
File format and handoff
- The file is exported in the format your print shop requests, commonly a print-ready PDF with fonts embedded or outlined
- Linked images are embedded or supplied alongside the file
- The design has been proofed and approved in writing
Why color shifts between screen and vinyl
A monitor glows; vinyl reflects. That difference alone changes how a color reads. Add the film's base color, the laminate finish, and the lighting on the vehicle, and a color that looks right on screen can print noticeably darker, lighter, or duller. Ask for a small printed sample of your key brand colors before committing to the full job.
Proofing mechanics
Proofing is not a formality. Ask for a printed sample or a detailed digital proof, then check the file one more time against the real vehicle photos.
Avoid approving a proof on a phone screen, since small displays can misrepresent color and fine text.
The checklist is organized around the four things that most often go wrong, and the table below summarises those checks.
| Check | What to confirm | Why it matters |
|---|---|---|
| Size and placement | Artwork matches verified template at stated scale | Wrong scale prints at wrong size |
| Bleed | Extends past each panel edge by requested amount | Prevents gaps at panel edges |
| Safe area | Text and logos clear of seams, handles, glass | Details stay visible once applied |
| Resolution | High enough for large-format printing | Keeps artwork sharp at vehicle size |
| Color mode | Set for print, not only screen | Colors shift between screen and vinyl |
| File format | Print-ready PDF, fonts embedded or outlined | Print shop receives a usable file |
| Proof | Printed or calibrated digital proof reviewed | Catches errors before production |
Commercial Vehicle Wrap Design Examples Worth Studying
Good examples teach more than rules. Study commercial vehicles from your area and note what works. Look for a clear name at a glance, strong contrast, and simple layouts. Notice how the designs handle door seams and handles.
Fleet designs often work best with few colors, one strong message, and large readable text.
How Much a Vehicle Wrap Costs and What Drives the Price
Costs depend on the vehicle size, how much of it is covered, the design complexity, and the vinyl film used. To understand how long a finished wrap holds up, see a practical guide to wrap lifespan and care.
Design work can be a separate line item from installation. Ask whether artwork creation, proofs, and revisions are included before you agree to a price.
Booking Your First Wrap with Pearl Wrapz
Once your design is ready, you can move to installation. Before you book, learn what professional installation involves and what to ask. Pearl Wrapz offers full-service work from idea to installation, and we install client-supplied graphics as well.
If you need a commercial truck or fleet project, you can review our commercial truck wraps and fleet graphics to see the services we offer. When you are ready to start, request your project estimate and tell us about your vehicle, goals, and timeline.
Frequently Asked Questions
How do I design my own vehicle wrap?
Start by defining your goal, such as brand recognition or contact information, then measure your vehicle or get the manufacturer template for your exact model. Build your artwork in design software at the template's full size, keep logos and key text inside the safe area, and export a print-ready file at the correct resolution. Review the file with your installer before printing. You can request a quote from Pearl Wrapz based on your vehicle and scope of work.
How hard is it for a beginner to design a vehicle wrap?
Design is more approachable than most people expect, but precision matters. The hardest parts are accounting for panel seams, door handles, and curves, and setting up files at true vehicle dimensions. A beginner can produce a strong design by keeping layouts simple, using bold contrast, and working from an accurate template. Many first-time designers benefit from having their file reviewed before it goes to print.
What makes a vehicle wrap easy to read from a distance?
Large, bold lettering with high contrast against the vehicle color works best. Keep the business name and phone number or web address short and prominent, and limit the message to a few words that can be read at a glance from a moving vehicle. Avoid thin fonts and busy backgrounds behind text. Pearl Wrapz can review your layout for legibility before production.
How much does a vehicle wrap cost?
Pricing depends on the size of the vehicle, whether the wrap is partial or full, the materials chosen, the complexity of the design, and any installation requirements. Pearl Wrapz does not publish fixed prices in this article because costs vary by project. Visit the Pearl Wrapz website or request a quote to get pricing for your specific vehicle and goals.