 How-to
7 Steps to Choose the Right Wall Mural Size for an Office Lobby
Last Updated: November 2, 2026
Quick Summary
Choose a wall mural size by measuring the wall corner to corner and floor to ceiling, then fitting the design to the wall that visitors see first. Leave clear space around doors, glass and furniture, and keep key text readable from the door and reception desk.
- Measure width and height at several points, since a wall that is not square needs to be noted.
- Mark doors, glazing, signage and furniture on your measurements before sizing the design.
- Keep the logo or name in the upper-middle area so it reads from the door.
- Match the mural's shape to the layout: wide for long lobbies, tall for narrow halls.
- Confirm the image resolution at full wall size and ask for a proof before printing.
Table of Contents
A lobby mural is the first thing a visitor sees, and the wrong wall mural size can make a whole room feel off. Wall mural size shapes a reception area's first impression. Too small, and the graphic gets lost behind the reception desk. Too large, and it overwhelms the people waiting below it.
Lobbies differ from other rooms in three ways:
- Visitors arrive and stop, so they look at the wall for a longer time.
- Furniture, desks, and foot traffic compete for the same space.
- The wall often holds the company name, so clarity matters as much as scale.
Here is the short version: the mural should fill the wall that visitors see first, leave breathing room around it, and read clearly from where people stand. You can see the full range of wall mural and interior graphics options for reception walls and office branding.
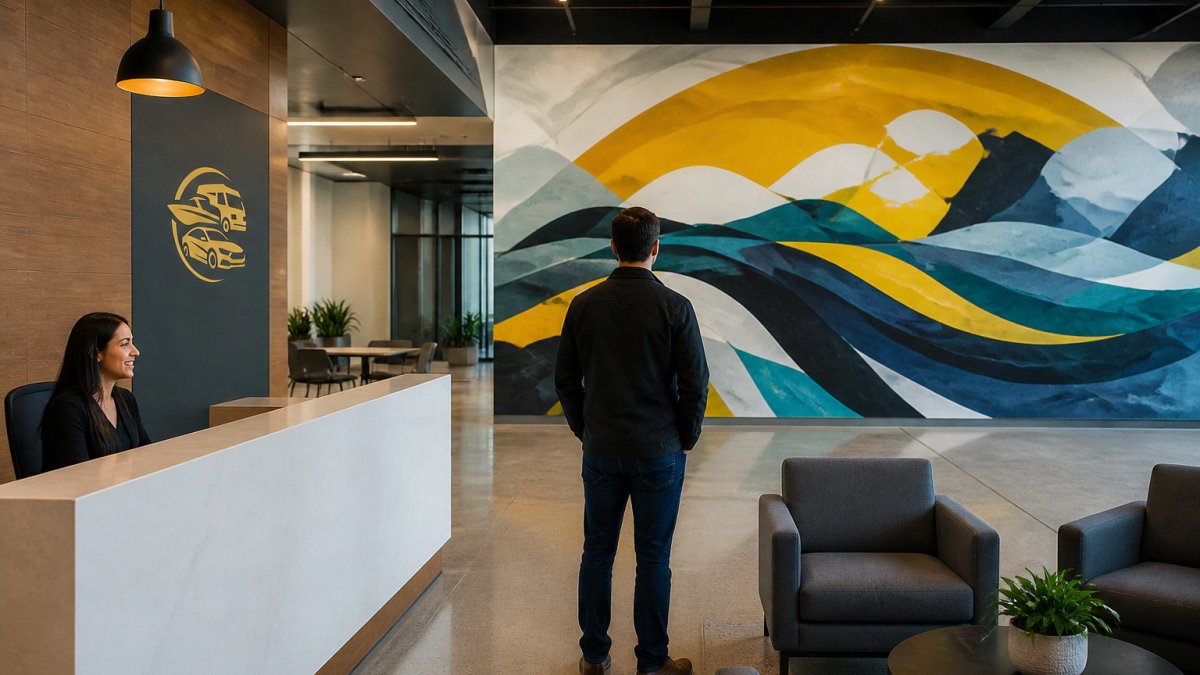
How to Measure a Wall for a Mural Before You Order
Before choosing a size, measure the wall carefully. Most sizing mistakes come from guessing. For the full process from design through installation, read our indoor wall mural installation guide.
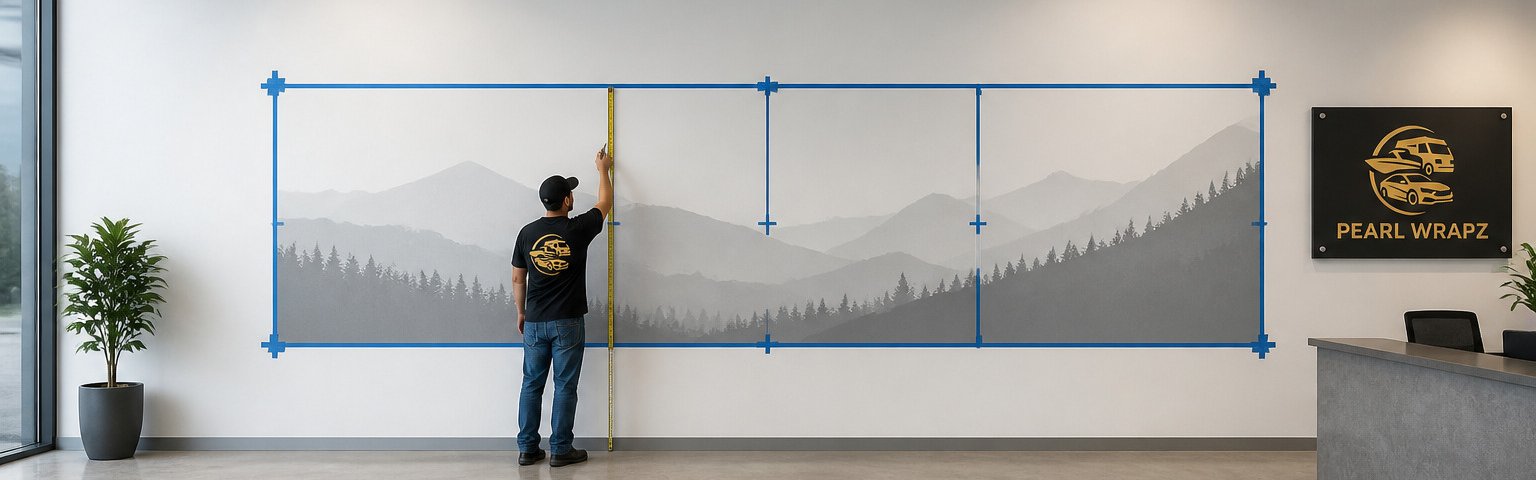
- Measure the wall width from corner to corner, at floor level and at ceiling level.
- Measure the wall height at both ends and in the center.
- Note any offsets, such as a recessed panel or an alcove.
- Photograph the wall from the position where visitors will stand.
Check the widths against each other. If the top measurement differs from the bottom by more than a few centimeters, the wall is not square, and the installer will need to know. Share these numbers when you request a quote from Pearl Wrapz, so the design fits the real surface.
Accounting for Doors, Glazing, Signage and Furniture
A clean measurement is only the starting point. Lobby walls rarely stay empty.
- Doors and openings: Keep the mural clear of door swings and traffic paths.
- Glass and glazing: Reflections can wash out a design near windows.
- Signage and screens: Wall-mounted displays and directional signs need their own space.
- Furniture: Reception desks, benches, and plants block the lower third of a wall.
Mark these items on your wall measurements. Leave a clear band above the desk line so the design stays visible over the furniture.
Sizing by Viewing Distance and Visitor Sightlines
Visitors read a mural from a distance, not from an arm's length. Plan the size around the place where people will stand.
- Stand at the door and at the reception desk, then note what each spot can see.
- Keep key text, such as a logo or name, in the upper-middle area of the wall.
- Test the layout with a printed sheet taped to the wall before you commit.
A lettered element should stay readable from the door. If it does not, enlarge it or move it to a better height.
Office Lobby Wall Mural Ideas by Layout and Ceiling Height
Layout changes the best choice. Use these starting points:
- Long, open lobby: A wide, horizontal mural can anchor the room and guide the eye along the wall.
- Narrow entry hall: A tall, vertical design uses the space without crowding the walkway.
- Low ceiling: Keep the image in the middle band of the wall and avoid heavy detail near the top.
- High ceiling: A full-height mural adds presence, but keep important content below eye level.
Each layout asks for a different proportion. Match the image shape to the wall shape rather than forcing one design onto every room. Explore how custom wall murals shape office branding to see layout-driven design ideas in practice.
Checking Image Resolution and Cropping for Large Prints
Large murals reveal weak artwork quickly. A file that looks sharp on a screen can look soft at wall size.
- Plan for adequate resolution at the final print size, and ask your installer for their file specifications.
- Confirm that the source file is large enough for the full wall dimensions.
- Ask for a proof before printing, so you can check colors and detail on screen.
Low-resolution files cannot be fixed by enlarging them. Start with a high-quality image. For the file prep and material steps behind a clean large print, see vinyl graphics printing steps.
Using a Crop Tool to Fit Your Design to the Final Wall Size
Cropping lets you test different sizes without redesigning the artwork. Use a crop tool to set the frame to your measured wall dimensions, then move the image until the key content sits in the right place.
Work in this order:
- Set the canvas to the exact wall width and height.
- Place the logo and headline first.
- Check the crop against the sightline photo.
- Adjust margins so nothing important falls behind furniture or doors.
Save a copy of each crop version so you can compare them side by side.
Booking Your Lobby Mural Measurement Review with Pearl Wrapz
If your measurements are ready, the next step is a review. Pearl Wrapz can help review your wall dimensions and file requirements. Request a project estimate for your lobby wall, and our team will help you confirm the right size for your space.
Frequently Asked Questions
How do you measure a wall for a mural?
Measure the usable wall width and height at the points where the mural will sit, not the full wall. Record the distance from the floor to the ceiling, and note where doors, windows, light switches and built-in fixtures interrupt the surface. Measure at three heights, since ceilings and baseboards are rarely perfectly level. Send these figures to your installer along with photos of the wall so they can confirm the final size before printing begins.
How large should a mural be in an office lobby?
A common approach is to size the mural to fill a clear, defined portion of the wall rather than every inch of it, leaving visible wall space around the edges. The right size depends on lobby layout, ceiling height and the distance from which visitors first see the wall. Start with the wall dimensions you measured, then test how the mural reads from the main entrance and from the reception desk before settling on a size.
What should you send a mural installer before requesting a quote?
Send your wall measurements, several photos of the wall from different angles, a list of obstructions such as doors and signage, and any brand colors or design direction you have in mind. Include information about the lobby's lighting and the surface material if you know it. Pricing depends on quantity, dates and delivery, so request a current quote from Pearl Wrapz with these details included.
How do you check whether a mural image will look sharp at the final size?
Check the image resolution against the final print dimensions, not the screen size. A file meant for a large wall needs enough pixels to hold good resolution at full scale. Ask your installer to confirm the file specifications they require before you finalize the design.